•Use DMX Input Devices to trigger, wire or script interactions based on values of a DMX Channel
•You are able to listen on DMX Values of a predefined DMX Start Address and Universe
•Use the incoming DMX Values to influence other properties into VERTEX or to trigger an action
Workflow
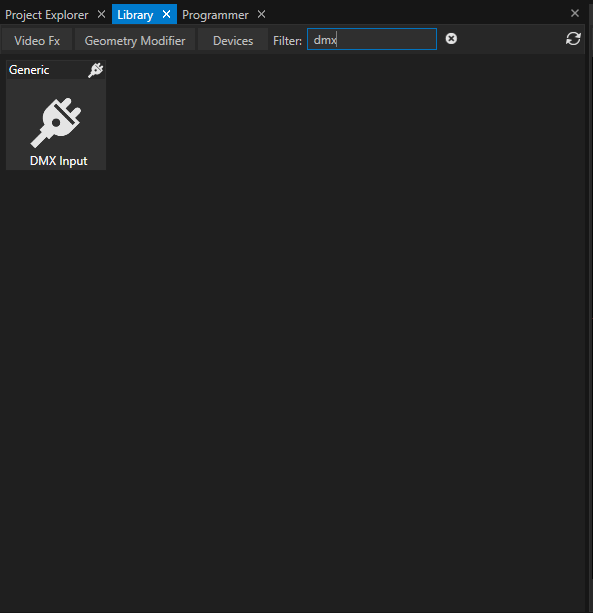
•Go Library > Devices
•Search for "DMX Input"
•Right-Click on the device and add one or multiple to your project

Example of a DMX Device Setting: There is DMX Input Routing. VERTEX is listening on Art-Net Universe 5. Date from this Universe is internally routed to VERTEX Universe 3.
DMX Input Device 1 is set to VERTEX Universe 3, Start Channel 1.
•Go to Project Explorer > Devices
•Select one or multiple DMX Input Devices
•Set VERTEX universe number and start channel and define the DMX mode (Default 8 Bit, 16 Bit. 32 Bit...)
 Normalize Input
Enable "Normalize" in the Device settings, if you want to control or wire a property into VERTEX that has a value range from 0 to 1 ( e.g. opacity).
All incoming DMX Data is normalized into the range from 0 to 1.
•Ensure, that a valid DMX Input Routing exists.
Working with DMX Input Devices
As for every Device, there are different options to work with the incoming Data.
Here some Examples:
1.Scripting
The Opacity of Clip Container 1 is controlled by the incoming DMX Data from Device 1
The opacity value range is 0 to 1. The "Normalize" data option is enabled for the input Device
A Script Command for this scenario could be like this:
Sequence1.ClipContainer1.Opacity.Value = Device1.Settings.Value.Value
2.Trigger
With help of the Trigger Editor you can easily build Triggers. An defined action is executed if a condition for a source is reached
Of course this also works with DMX Input Devices
•Open the Trigger Editor
•Drag the e.g. Value property from Inspector to the Source field
•Enter a Condition
•Enter a Script that should be executed

Example for the usage of a DMX Input Device:
If DMX-Value of Universe 3/Startchannel 1 is 255, Playback 1 is started
3.Wiring
Wiring gives you the option to connect Values of different properties.
Of course this also works for DMX-Input Devices
•Open the Wiring Editor
•Drag a DMX Device Property from Inspector to e.g. the Source field
•Drag another property into target field
•Add an expression
 is wired to the Opacity of Clip Container 1. The Opacity now is controlled by a DMX Channel.")
Example of a Wiring
The Value of the DMX Input Device 1 ( Normalized) is wired to the Opacity of Clip Container 1.
The Opacity now is controlled by a DMX Channel.