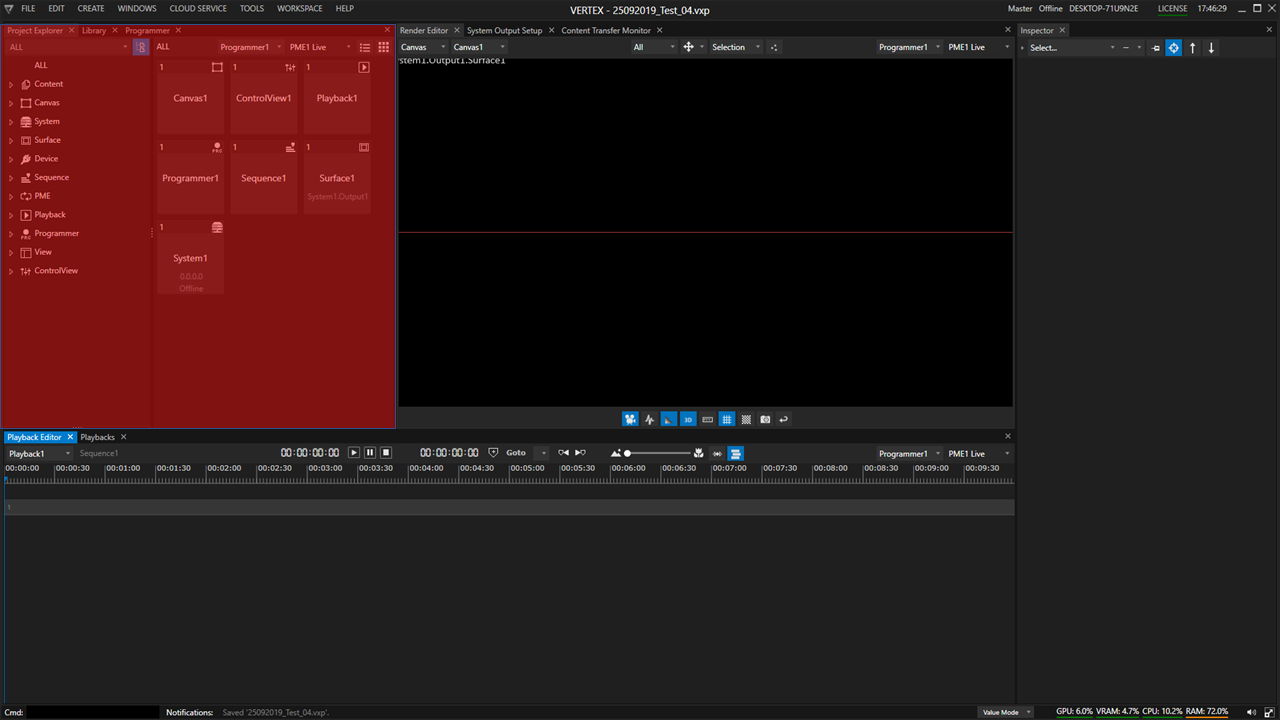
•The Project Explorer window is the project browser.
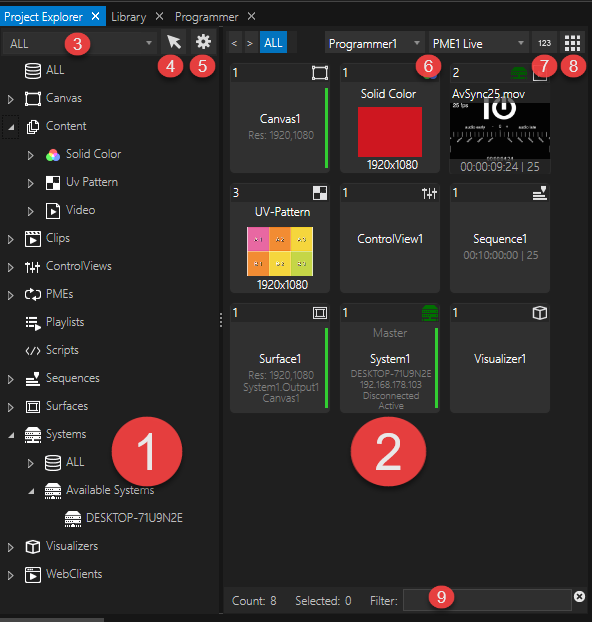
•The left pane lists all categories of your project items in an expandable tree view.
•The right pane lists all items of a selected object category.
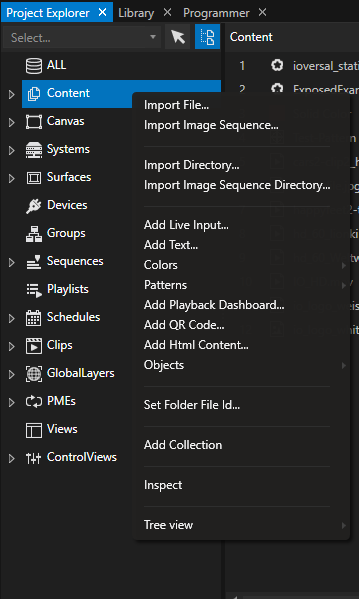
•Context Menus via right-click give access to item-specific functions.
User Interface
Left Pane - Project Tree |
The left pane lists all available resources and elements of your local VERTEX System as well as all items in your project •Selection with left mouse buttons to show project related child elements in right project column •Right mouse click to open a context menu with varying options for each element type. •Drag items either within the tree view or to the right pane to assign to / connect with other items (see below). •Select items to access their settings in the Inspector window. •Filter by category •Focus tree items in the Inspector. Default: off Project Settings •Accesses the project settings and pins them to a new inspector window.
|
|
Right Pane - Project items |
Shows all items and assets of your project Organizes assets, items and objects by categories & sub-categories.
Actions: •Select one or multiple items to set property values in the inspector •Access an item's context menu by right-click •drag and drop elements
Sorting •by Programmer / PME •by Item ID •Alphabetically descending
Style Options: •Tile View (default) / List View toggle
Search Filter •Indicates the number of project items total & selected and enables you to search for particular items. |

Use drag & drop in addition to context menus. For example, drag and drop an NDI stream of System1 from the project tree to the right pane in order to add it to your project.
For those elements where a logical context makes no sense (e.g. drag a System and drop it on another System) you will get visual feedback on the target element next to your mouse pointer
Drag and drop does not only work in the Project Explorer, but also between Project Explorer and Render Editor or Playback Editor. This comes in handy, when dropping content either onto a Canvas or a Sequence. You can also drag content from Windows file explorer to your VERTEX Project Explorer.
Access to Sub-Items or Child Elements
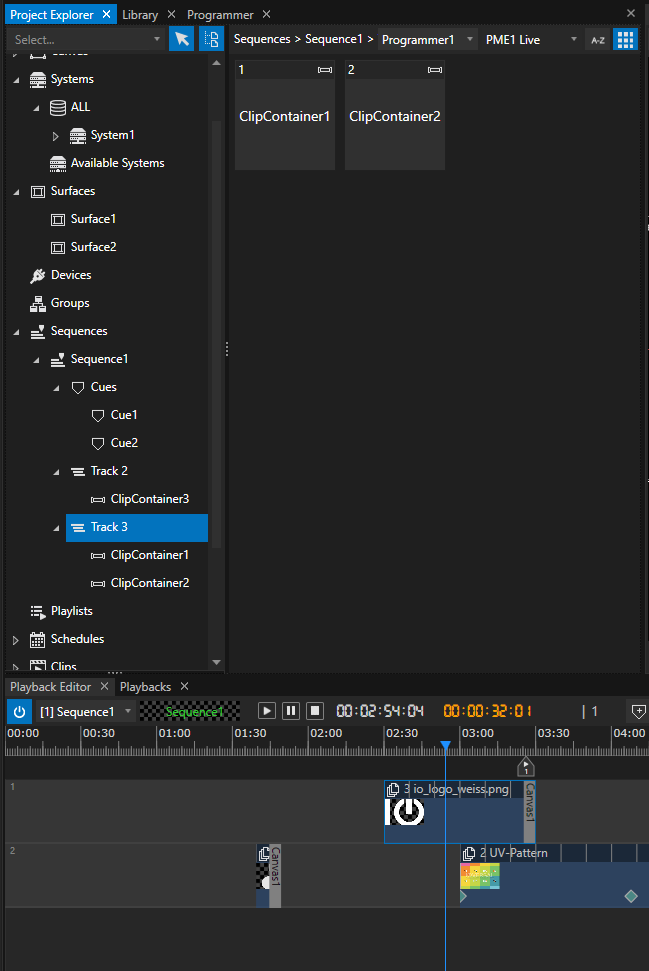
•The Project Explorer is organized in main object categories that can be expanded and collapsed via context menu.
•With this structure, you are able to access e.g. a track of a sequence to change its specific setting
•Whenever there is an arrow in front a category or item, it show that there is another sub-level in the tree structure.
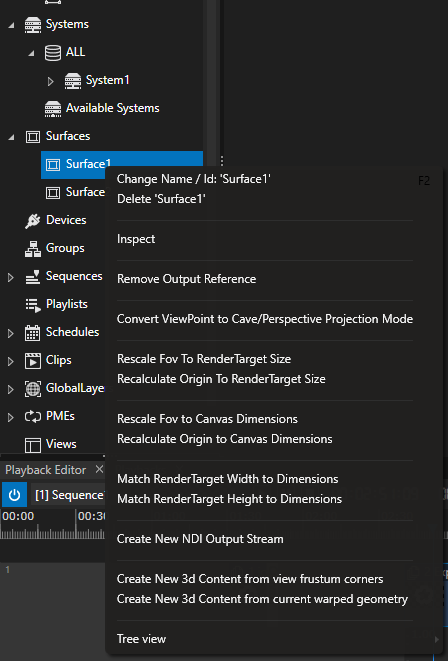
Context Menu(s)
•Context menus via right-click give access to item-specific functions, settings, Collections or to adding a new element.
•Context menus vary in content, depending on the item or context.
•Some functions can only be accessed by context menus in the Project Explorer -e.g. Re-Scan Video Inputs of a System (however, this command can also be given by script).
Examples
•Select an available System from your network ( in the left project tree) and use the context menu to remotely start VERTEX on this System
•Add 4 Surfaces as horizontal/vertical split as child of an output
•Refresh video sources
Shortcuts
•Each editor window in VERTEX has got a varying set of shortcuts that are automatically created and updated.
•Press the F1 Key to open a list of shortcuts corresponding to the current window/ editor in focus.
