•Wiring assists you to create simple interactive logic and to connect different Properties that influence each other
•The Wiring Editor follows a easy table scheme: Define 1 or 2 Sources, enter an Expression that influence a Target Property - do expression- influence target parameter
•Sources are assigned by drag and drop them from Inspector - wired Properties are underlined in yellow color in the Inspector
User Interface

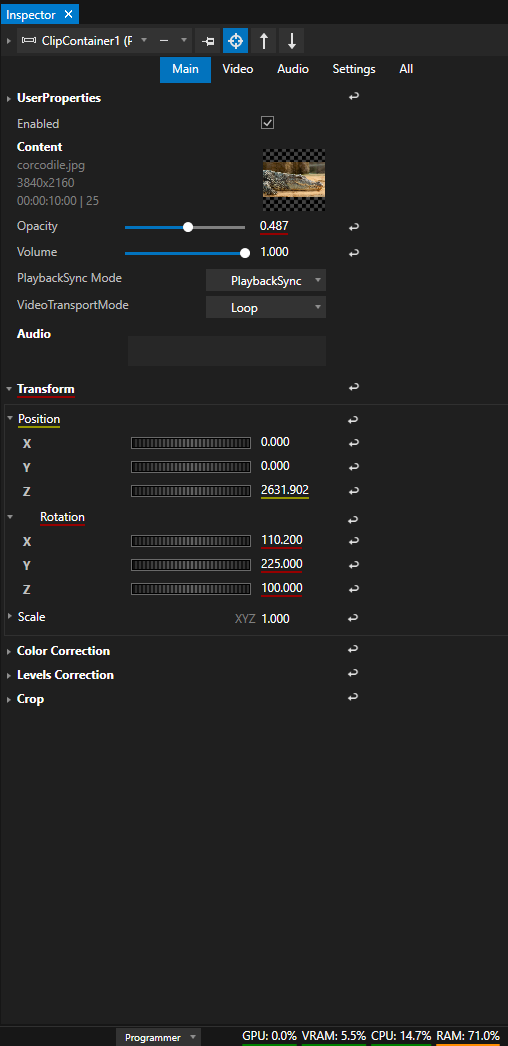
Example for Wiring:Y-Position of Clip Container1 is Source 1.A Mouse device that Captures the mouses x position is Source B.
Both influcenses the z-Position of Clip Container 1. The Expression defines how the values for the Clip Containers Z position are calculated.
|
Name |
Enter a custom Name for your wiring |
|
Source 01 and Source 02 |
Add a Source by drag a Property Name from Inspector to the Source field of the Wiring Editor. |
|
Expression |
Enter a mathematical Expression. |
|
Target |
Add a Target by drag a Property Name from Inspector to the Target field of the Wiring Editor.
Clear Targets: |
|
Mode |
Default: Disabled - Updates for Target Property is only done if Source Value changes When enabled, the Target is permanently updated, independent from Source Value changes |
|
Rate |
Property Update Rate: |
|
Damping |
Enter a damping for your target to avoid jitter or fast movements of your target |
|
Activate or Mute |
Switch Wiring on or mute your Wiring |
|
Delete |
Click to delete |


Create a Wiring
1.Open the Wiring Editor from Main Menu (Main Menu -> Windows)
2.Click on the "+ "Symbol to create a new Wiring
3.Select the Item that includes your Source Property into Inspector
4.Move with your Mouse to the Property Name into Inspector
5.When there is a yellow mark next to the Properties Name, drag with your Mouse the Property Name to the Source field into Wiring Editor

6.Enter an Expression - e.g SourceA + 1000
7.Select a Target Property by repeating Step 3 to 5 and Drag Property into the Target field of the Wiring Edditor
Yellow lines for active Target Properties into Inspector
•When a Wiring is active and running, the Target Property into Inspector is underlined in yellow Color