•The Inspector window is the central hub for all settings and property values in VERTEX.
•Click on any element in the project explorer, render editor, sequence editor etc. in order to inspect the element's properties and change its settings.
•You can work on multiple inspector windows simultaneously and pin items to an inspector.
•Tabs help you to sort settings.
•The viewing modes standard and advanced filter out distinct properties and keep the view on the inspector neat and clean.
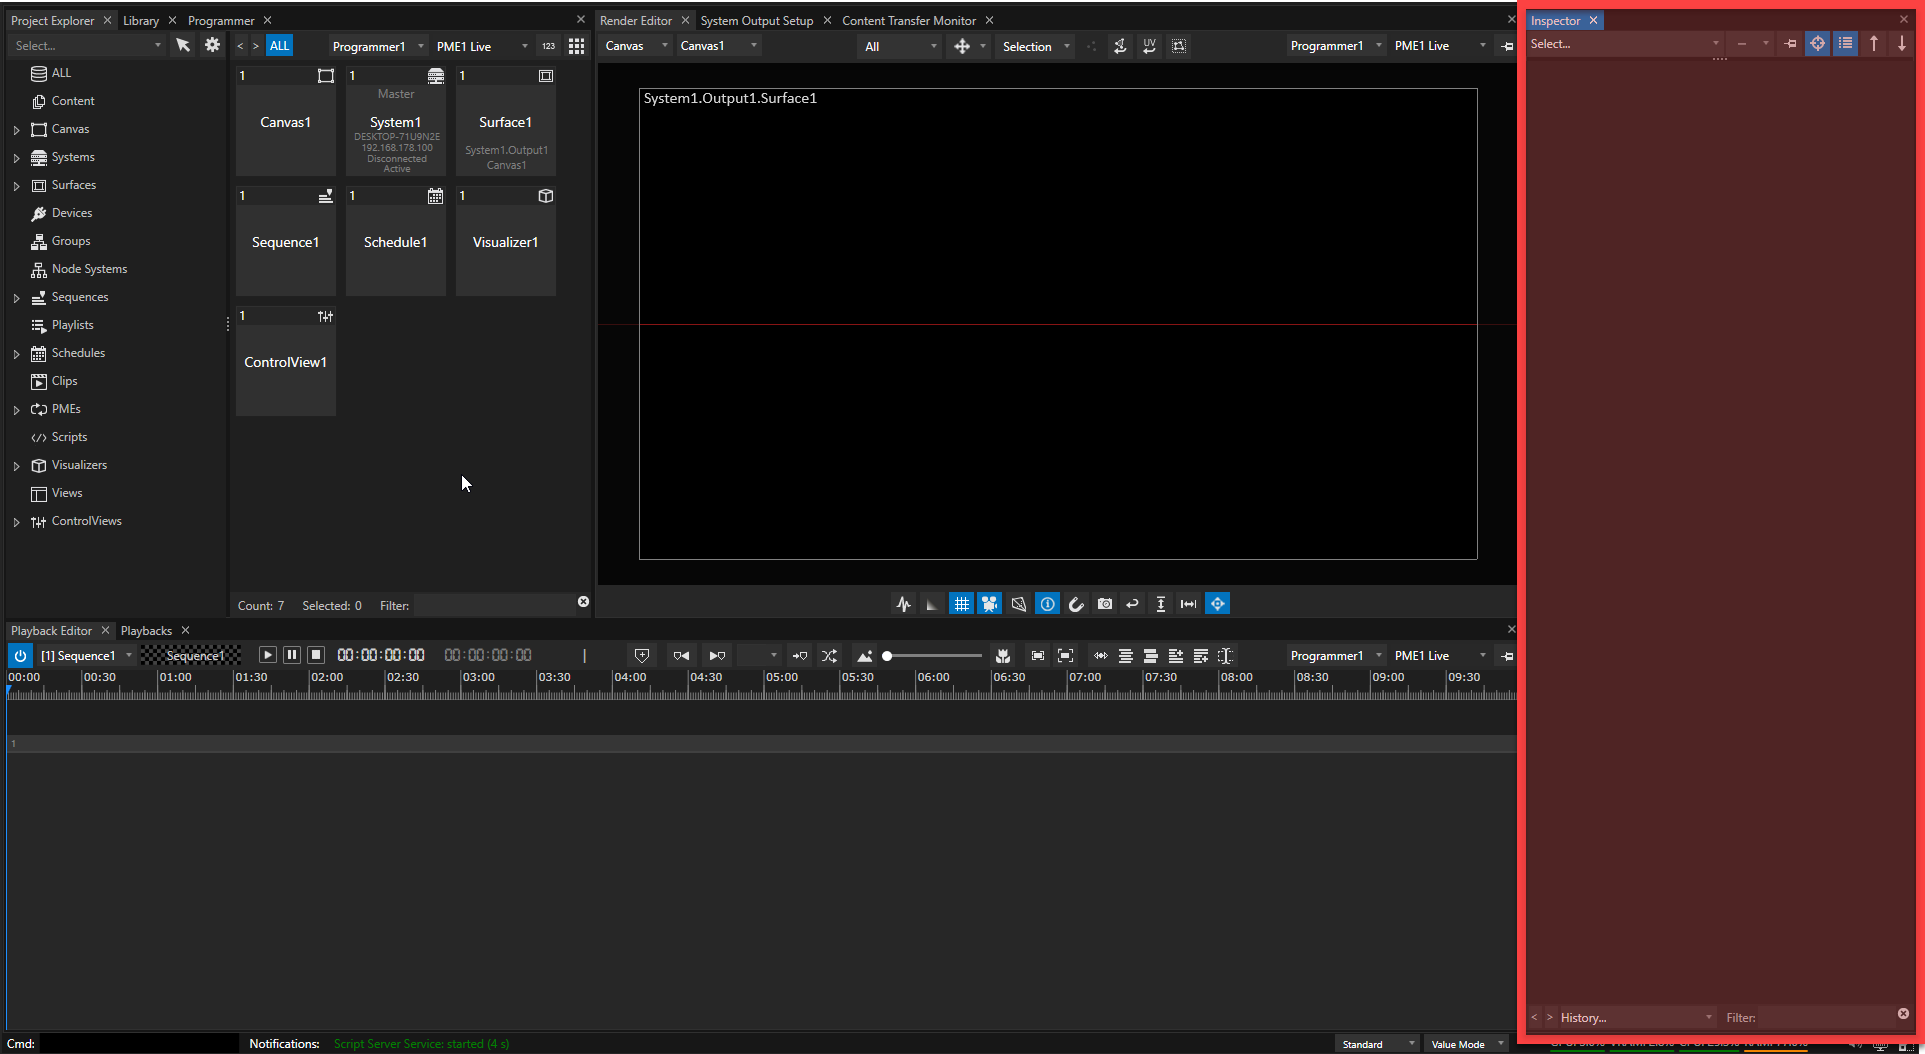
User Interface
|
|
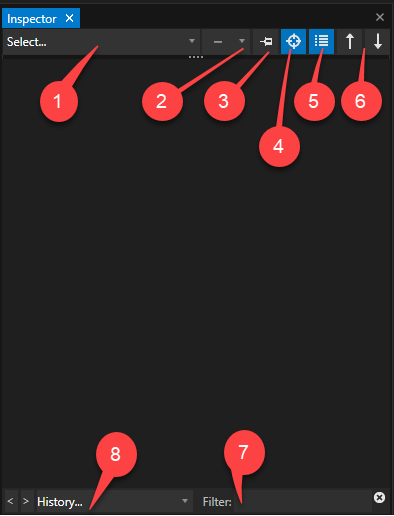
Selection |
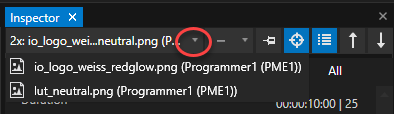
Displays the selected item's name. This selection is active in the inspector window. View a list of your multiple selections by either opening the drop down menu here,
or by pulling down the tab at dotted line:
|
|
Align |
Enables different modes to change settings of multiple selected items in relation to one another. See below. |
|
|
Pin To Inspector |
VERTEX's pin function has three modes: 1. None is pinned (default) - meaning whenever you select a new item, it appears in the inspector. 2. Items are pinned - meaning the current inspected item is pinned to this inspector; a different item selected for edits will not show up in the inspector. 3. Context is pinned - meaning only items from the current window/ editor will show up in the inspector. |
|
|
Selection Focus |
Toggles between two selection modes: the target icon enables selections just from the current editing window focus. The globe icon enables across all the different editing windows in VERTEX - for instance, in this mode you can select multiple items from the project explorer, playback editor and render editor simultaneously. |
|
|
Multiple Selection |
The list icon enables multiple selections. The single item icon disables it. |
|
|
Prev/ Next Arrows |
Jump back and forth between multiple selected items in the list view. See instructions above, list view |
|
|
The filter is a helpful searching tool when working with items that have lots of properties. Gain quick access to the property you need by typing in a letter or a word and confirm your search key with ENTER. To view all properties again clear the filter either by clicking on the X icon or using the shortcut SHIFT+BACKSPACE. |
||
. |
Inspector History |
Go back and forth between previously inspected items. Either open a drop down menu with a history list to select from or click on the previous/ next buttons (</>). |
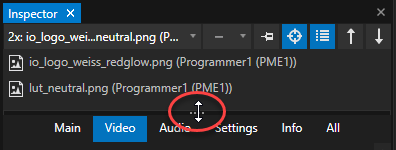


Property Tabs
•All properties are sorted thematically by tabs.
•The number and type of tabs vary depending on the selected item.
•The Main tab displays a quick overview of the most important properties for the selected item.
•The All tab lists all available properties in alphabetical order.

Screenshots of all the available tabs sorting the various settings and properties in a Clip Container's Inspector window.
Change Property Values or Settings
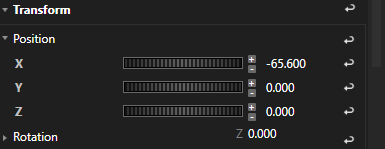
•Double-click on a property value, enter a new value and confirm with "Enter".
•Click & drag to increase/ decrease a value.
•Reset a value by clicking on the return symbol on the right hand side of the inspector.
•Linking multiple properties: changes made on one property will be applied to all linked.
Hold down CTRL+ALT while click-selecting multiple values. Or link the properties via the context menu of a value (right-click on the value).
This also works across multiple inspectors.
•If a property is preceded by a little arrow head, it is an expandable parent category with child elements available. Click on the arrow to expand/ collapse.
Drag & Drop Operations
•You can drag items from the Project Explorer into the checkered source fields in an inspector to assign sources or targets.
•Drag & drop also works between multiple inspectors. For example, you can drag a property from one inspector into the source field of a generative Text Content property to generate text from that value.
•You can also drag a property from an inspector window into the Node System Editor, Control View Editor, or Script Editor for further processing.
Multiple Selection
•When multiple project items are selected, the Inspector displays the properties they have in common.
•Any value changes made in the inspector are applied to all selected items.
 Mathematical Expressions
You can use mathematical expression for each value in the inspector.
For instance, enter 1920*2 to double your pixel number. Or just add 100 by using +100.
•For wheels: Use shortkeys to get more precise results:
oHold Alt Key and move wheel with your mouse: increase only whole integer values
oHold CTRL Key and move wheel: "Fine Mode"
Pin item to new inspector
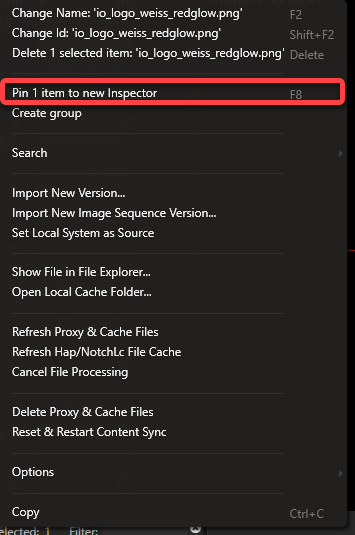
•Every item in VERTEX can be accessed with additional and separate inspector windows.
•The item can be optionally pinned to the new inspector.
•At times it can be helpful to work with multiple inspectors to view separate settings distinctly.
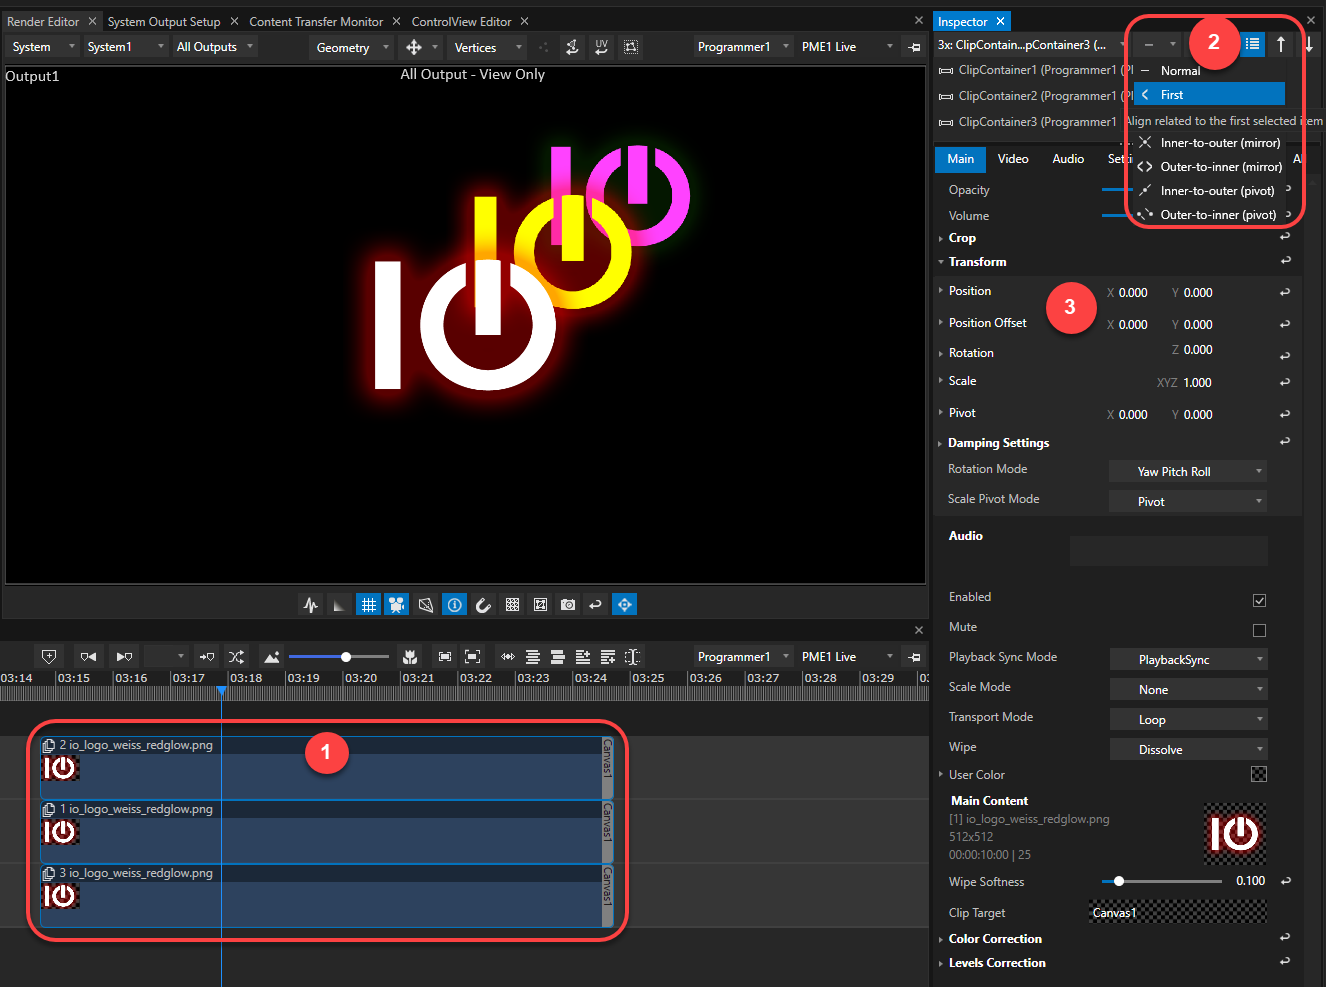
Align Mode
The Align function offers a quick way to edit properties of multiple selections in relation to one another. For instance, you can fan out items on your canvas evenly and with ease. Here is an example on how to do it:
.")
This drop-down menu appears when clicking on the "Align" button (no .2 in UI description).
 Select multiple items such as those three clip containers in the playback editor.
 Select any of the align modes from the drop down in the inspector.
 When changing properties such as position X or Y all three clip containers will be neatly lined up in exact relation to one another.
Inspector Mode: Standard and Advanced
Select the inspector's viewing modes from the drop down menu at the status bar (or use F10 as a shortcut) Depending on the inspected item, the number of tabs and the item's properties and options will increase in advanced mode.

This system is being inspected in standard mode.

Same system in advanced inspector mode.
Tab for Vioso calibration settings now is visible.
The list of system settings has significantly expanded.
Colors Underlining Value States And Their Meaning
A value state in the inspector can be underlined with a specific color indicating the particular the source of the property value or its changes.
Whenever a parent property entry is underlined, open its drop down to see what child property value is being changed.
|
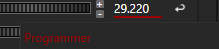
Red indicates the source of value state changes is the programmer mode. A darker shade of red indicates multiple programmers. |
|
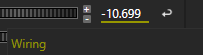
Yellow indicates the source of value state changes is a wiring. A brighter shade of yellow indicates multiple wirings. |
|
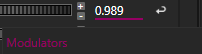
Magenta indicates the source of value state changes is coming from modulators within a node system such as oscillators, sine waves etc. |
|
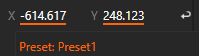
Orange indicates the source of value state changes is coming from a preset. |
|
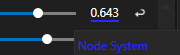
Blue indicates the source of value state changes is a node system. |
|
Dark blue indicates the source of value state changes is a script. |
|
Dark green indicates the source of value state changes is coming from a web view. |
|
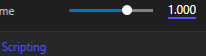
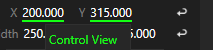
Bright green indicates the source of value state changes is coming from a control view. |
|
Grey indicates the source of value state changes coming from keyframe animations. |