•Import content into your VERTEX Project using either a shortcut, context menus or simply by drag & drop
•Import one single file, multiple files or a whole directory including all files and folder structures
•There is an an additional option to import image sequences or directories of image sequences
Various Import Workflows
1.Context Menu in Project Explorer
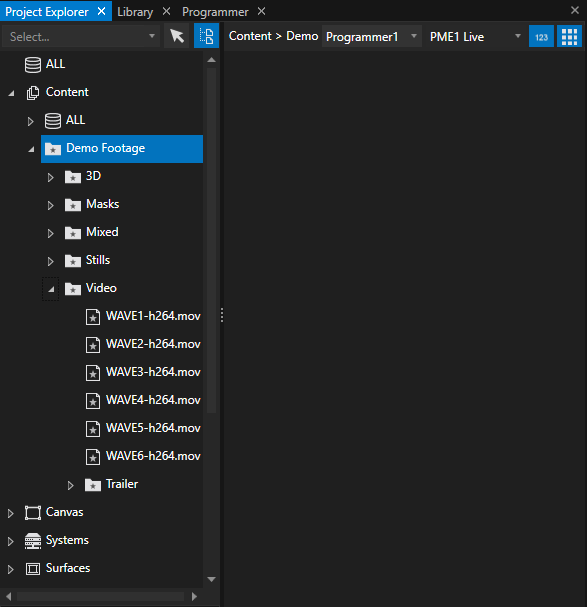
Right-click on the "Content" section in the Project Explorer and choose your import option from the context menu:
2.Main Menu: "Create"
Go to Main Menu > CREATE > Content... and select your import option:

3.Shortcut CTRL+I
Focus the Project Explorer and press CTRL+I.
This will open the import dialog from Windows Explorer.
4.Drag and drop from Windows Explorer to Project Explorer
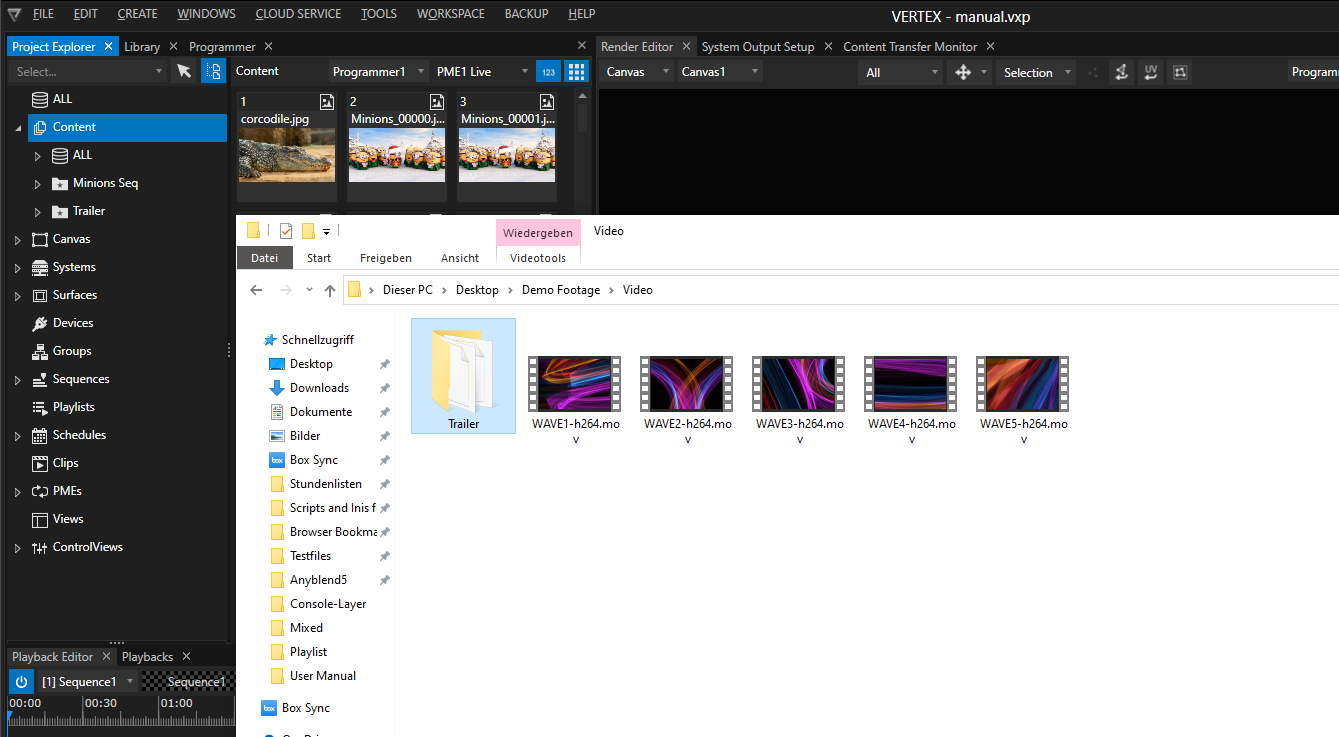
Users can also add content simply via drag & drop from Windows Explorer either to VERTEX Project Explorer or directly to your sequence timeline.
This also works for folders without a subfolder.
Import Options: Directory or File(s)
Choose whether you want to import a single file, several files or a folder structure.
Import one file or several files
•Select "Import File"
•The Windows Explorer opens
•Select one or multiple files from the same directory
Import Directory
•Select "Import Directory"
•Windows Explorer with a directory tree opens
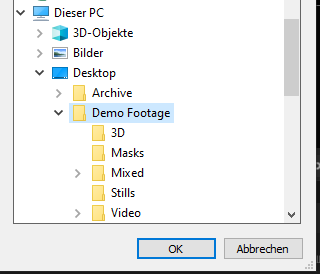
•Choose a directory
•The directory will be imported including subfolders and their content
•Subfolders will be added as collections using the same folder structure
Import Image Sequence
The command to import an Image Sequence is available via the Project Explorer's context menu or the Main Menu.
Learn more about your options for Image Sequences here: Image Sequence
Settings
There are two places where users can customize VERTEX' import behavior:
Project Settings
Access the settings that affect content import via the tabs Content, Audio and Content Sync
•globally define details of file import
•switch Proxy file encoding on/off
•special options for codecs (NotchLC and HAP)
• Audio (Disable embedded Audio extraction, disable audio waveforms in content tiles, force audio conversion to 16Bit/ 48kHz)
•define data handling: Should the original content be copied to the VERTEX project folder? Should Sub-Directories imported...?
•define the Content Sync behaviour in session mode with multiple systems

Go to MAIN MENU > EDIT > Project Settings... or just klick on the gear icon in the upper right corner of the Project Explorer window
System Settings
Users can set VERTEX to automatically generate proxy files of your content right on import.
If your hardware has got sufficient processing power, you might want to speed-up the encoding process by setting the number of files that can be processed simultaneously.
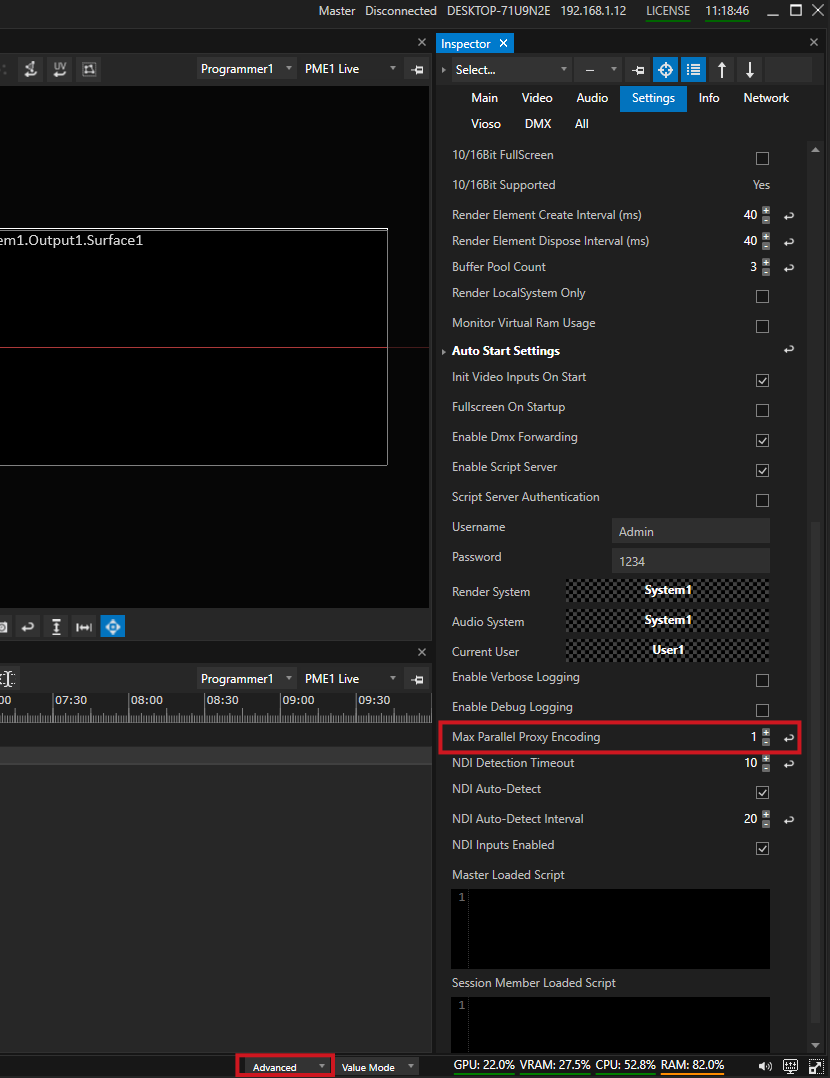
The System Setting Max Parallel Proxy Encoding can be accessed via the Inspector's search filter and allows you to set a limit to the number of proxies encoded in parallel.
The default value is 1, which means that all proxies will be encoded in succession to limit the increased hardware load.
Advanced Options
WatchFolder
Define and observe Windows folders. Content import is automatically triggered if content was changed or added within your set WatchFolder.
Optionally, you can let VERTEX automatically create Playlists or Sequences based on WatchFolder content.
Learn more about WatchFolders
Folder and File ID
Folder and File IDs allow users to access content and folders by a value based ID.
This is necessary when working with DMX and Console Layers.
Learn more about a Console Layer or the Folder and File IDs .
Scripts
Users can add scripts to be executed upon changes of individual content files, e.g. Created Script, Deleted Script, Changed Script, ect.
These Scripts require the setting Watch File Changes in the Settings Tab of the desired content item is enabled.