•Whether you are a beginner or an expert - we want your start with VERTEX to be as easy as possible.
•When creating a new project VERTEX handles some settings in the background to give you a comfortable start.
•Both Workspace and Output Settings are preconfigured based on your Windows System settings.
Steps
1.Install VERTEX
Need help? Here is a step by step guide with all information: Installation
2.Start VERTEX
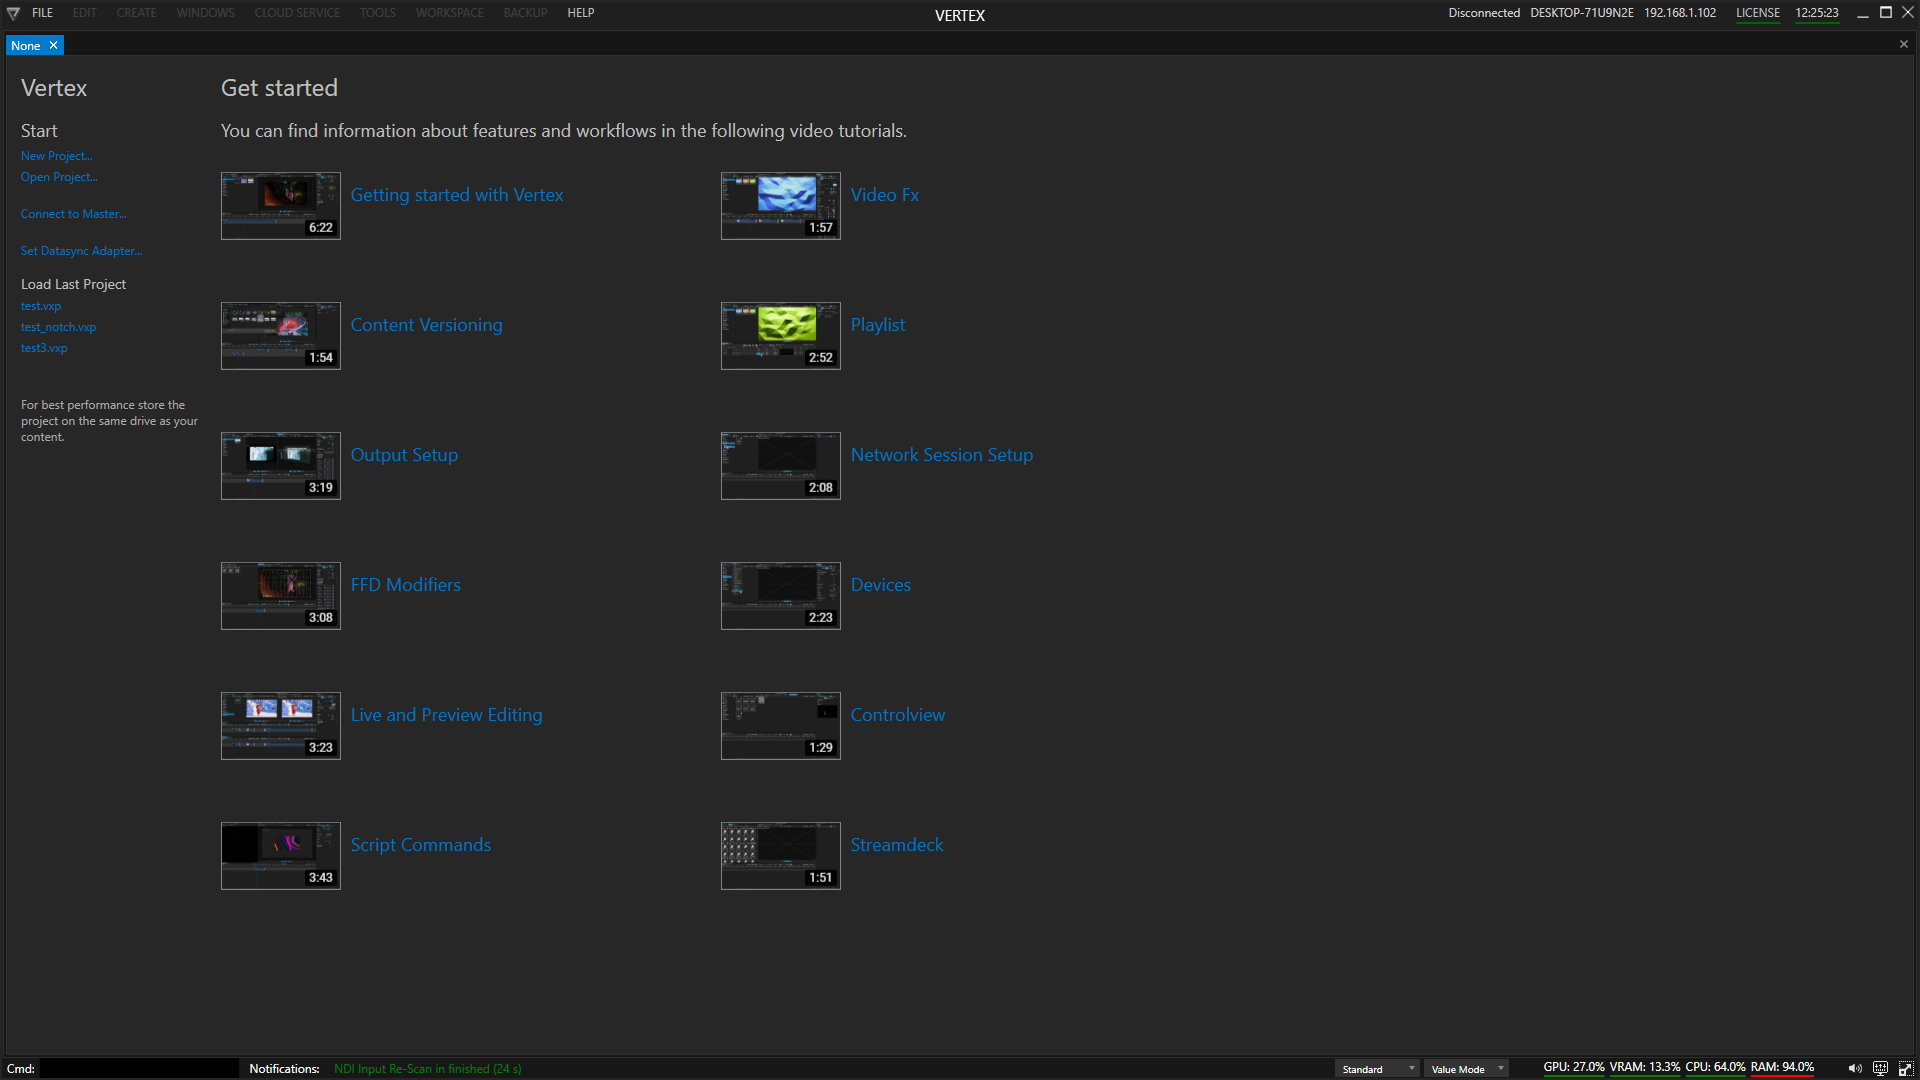
VERTEX starts with a splash screen that is shown for a short time
The UI is loaded and you will see the Startup Page first
3. Check/Set Data Sync Adapter
When you want to use your VERTEX System in a network session with other VERTEX Systems, please double check for the right Data Sync Adapter.
This can avoid hassle later on when setting up a session.

|
Select "Set Datasync Adapter" to initially set your preferred network adapter. If Ethernet is available, we strictly recommend to used a fast and cabled network instead of a wireless one |
|
The Data Sync IP is shown at the Top bar. Please check if the correct IP address is displayed there. If no IP is displayed, please set Data sync Adapter again |


4. Create a new VERTEX project
 Project Path
To run VERTEX with the best playback performance, we strictly recommend to store your VERTEX project folder on the same drive as your content is located.
Please use a fast drive for both to ensure an optimal performance of the software.
5. Wait until the project is created and ready to work on
The project will be loaded and ready to go for your first experience with VERTEX-
You will see:
oa preconfigured Workspace
with the most important tools and windows
oa preconfigured Canvas and Output Configuration
The Canvas size matches with the Windows 10 screen settings of your local System. Canvas 1 is preconfigured with the total pixels of the Windows 10 desktop you have set. For each the outputs that are already connected to your PC a Surface is created and already assigned to your Canvas.
 Setup Example
2 Full-HD Screens are connected to your hardware System. Both screens are arranged side by side into your GPU driver/the Windows 10 desktop settings. Your initial Canvas size is 1920 x 2 = 3840 pixel width and 1080 pixels in height.
For each the Screens that are connected to one of your GPU outputs, VERTEX creates a Surface with 1920x1080px. The initial arrangement of this Surface into your VERTEX Canvas should match with the settings you have made for your Windows 10 desktop.
6. Explore and learn VERTEX
Learn the VERTEX basics or explore the software by yourself:
a.Check out ioversal's Youtube channel for quick-start and expert level tutorials
b.Read this manual and follow the next steps: