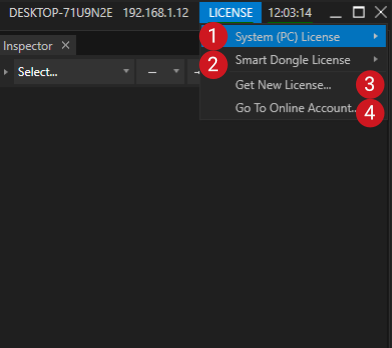
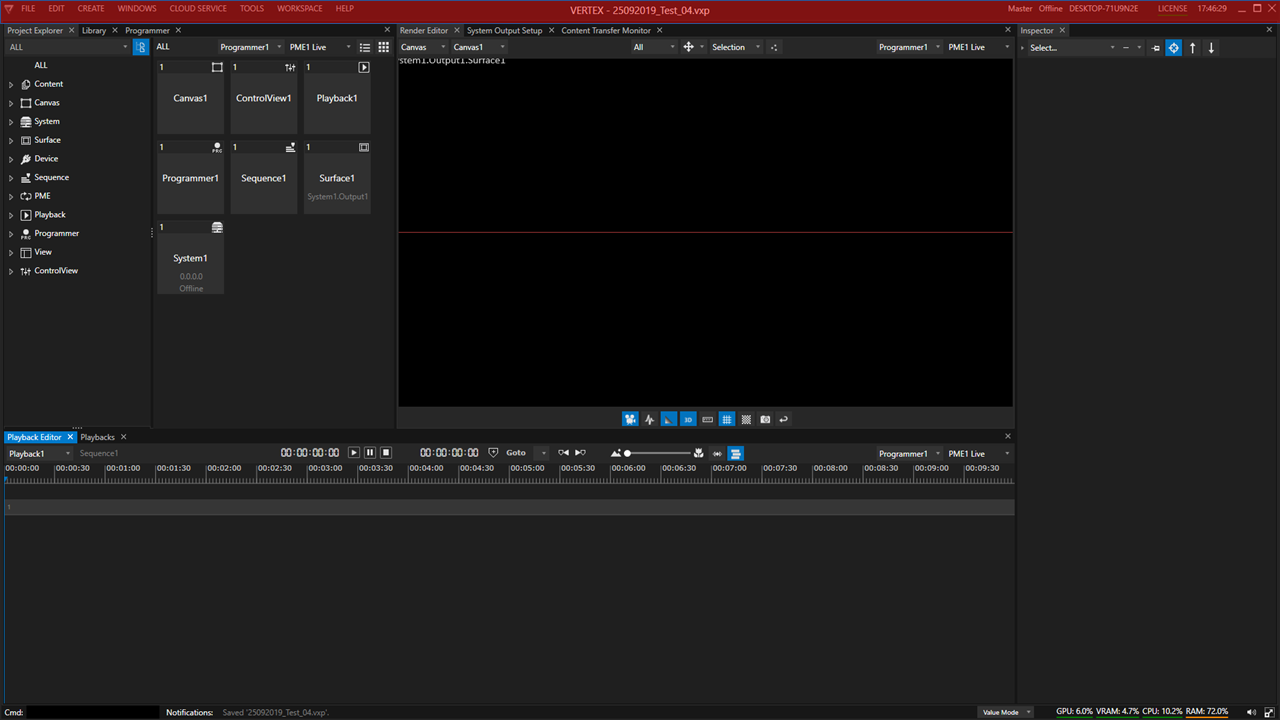
•The top bar gives you access to the main menu and the main system information - it is split into the following parts:
omain menu on the left
ocurrent project name in the middle
osystem information on the right
olicense management on the right
Main Menu
File |
File Handling: |
|
Edit |
Edit options: |
|
Create |
Create Items |
|
Windows |
Create new Windows and Editors |
|
Cloud Service |
not available in current VERTEX Version - will come in future releases |
|
Tools |
not available in current VERTEX Version - will come in future releases |
|
Workspace |
Switch or Reset Workspace |
|
Help |
Different Support and help options like |
System Information
System role |
Shows the Project Role of a System |
|
VERTEX Session Status |
Shows the status of your local System when working with multiple VERTEX Clients into a Session When working with only 1 System: Always Disconnected |
|
Local Computer Name |
Shows your Computer name that was set in Microsoft Windows System Settings for this hardware.
|
|
Local System IP Adress |
IP Address of your local VERTEX System. |
|
License Management dropdown and license status |
Mouse-click opens Menu for License Management. |
|
Shows current System Time
Status Colors (only relevant if working into a VERTEX Session): Red: No Sync clock data received - please double check all Sync Clock Settings |
||
VERTEX Window - Minimize, Close, reduce |
Minimize, Maximize or Close VERTEX main Application Window |
License Management

Activate and deactivate your VERTEX License or transfer it to a Dongle.
Please look at License Activation to find a detailed description.
Online License Activation |
For the following 3 points an internet connection is required: |
|
Dongle Activation |
For the following 3 points an internet connection and a plugged in empty ioversal smart dongle is required: Dongle Activation |
|
Offline License Activation |
No internet Connection but an external USB Stick/SD Card or Drive required for file exchange |
|
Online Services |
Internet connection required |


