•Set up a Session with multiple VERTEX Systems into a Project: a Master an a number of Session Members
•The Master manages the Project Data. Settings between Session Members and Masters are shared. The Project File is stored and loaded on Master
•You are able to connect and to disconnect a System.
•Systems could be virtual or real
Master and Session Member
When working with multiple Systems into a VERTEX project, each VERTEX license can take a role called" Master" or a role called "Session Member"
This role does not depend on the license and can be selected for each new project.
The Master manages the Project File and all changes. The system on which a new project was created gets the Master Role by default.
All other Systems that will be connected and added to the Project are Session Members.
All Data is shared between Session Members and the Master. A Master is responsible for handling of this Data Exchange.
The Master is not necessarily responsible for the Sync Clock for Playbacks.
Session Members can work in Fullscreen mode, in only UI mode or in a combination of both.
You can work with different users together in one Project. All Session Members are allowed to make changes an every Property.
Data and Project Handling
The Project File is loaded and stored on Master. After a Project File is loaded on a Master, the Master System pushes all Project Data to the Session Members. Content that is already distributed to Session Members is not shared again.
The main Project File is always saved on the Master.
Session Members are able to trigger a Project "Save on Master" or to save a "Local Copy" of the Project File.
It is not possible yet to merge offline changes from Session Members to a Master Project.
Please work on the main Project File from Master and Copy this Project File back to Master again.
When open a VERTEX Project with a System that is not a Master, VERTEX will ask you if you want to map your local System as the Master.
Prerequisites for a VERTEX Session
1.VERTEX has to run on all Systems with the same Assembly Version - e.g. "2020_Q1_2020.05.20.1920"
2.All Systems must have a valid license or no system may have a license and all run with the Trial
3.Network Adapter Settings are done - The Default Datasync Adapter is set for all Systems into the same network.
4.Vertex Background Services must run on every System
Network Adapter Settings
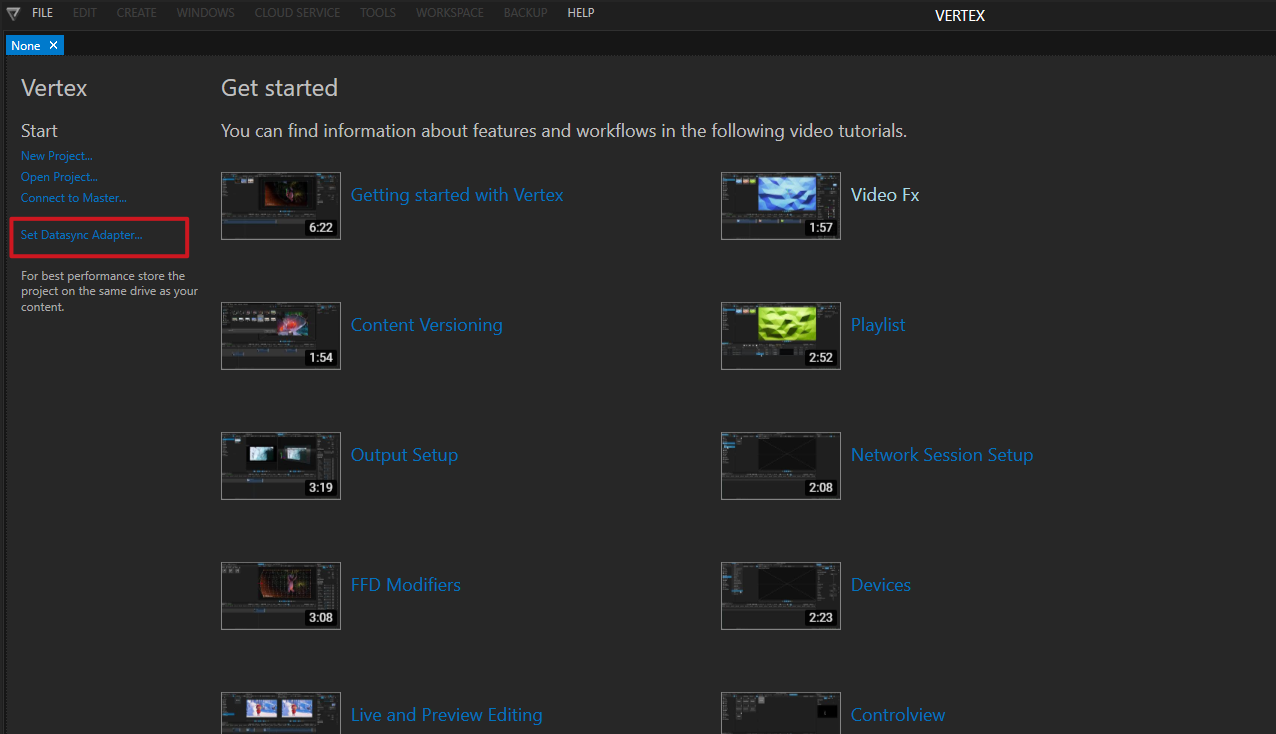
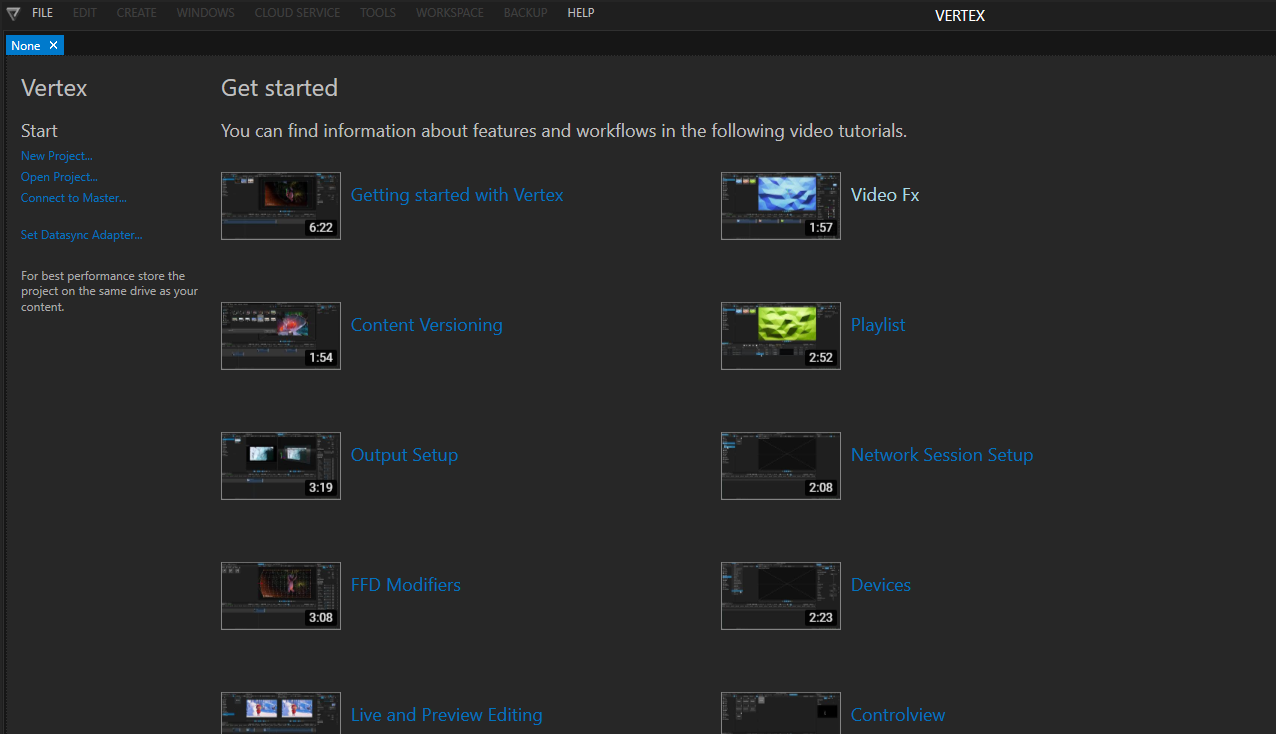
For each System the Default Network Adapter has to be set. The easiest way is executing the link on VERTEX' Startup Page:
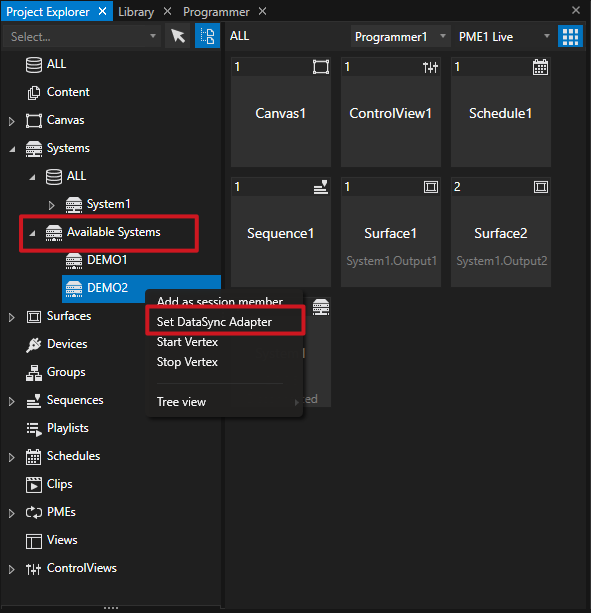
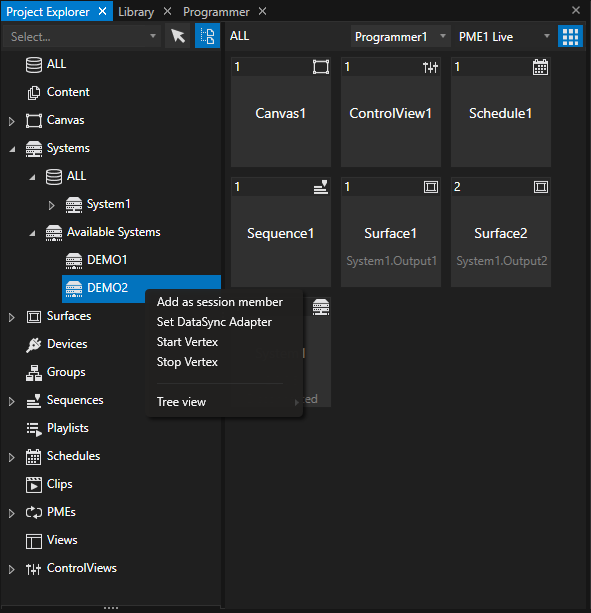
On a Master System you can go to Project Explorer > Systems > Available Systems and right-click on a detected VERTEX System to set the adapter from the context menu.
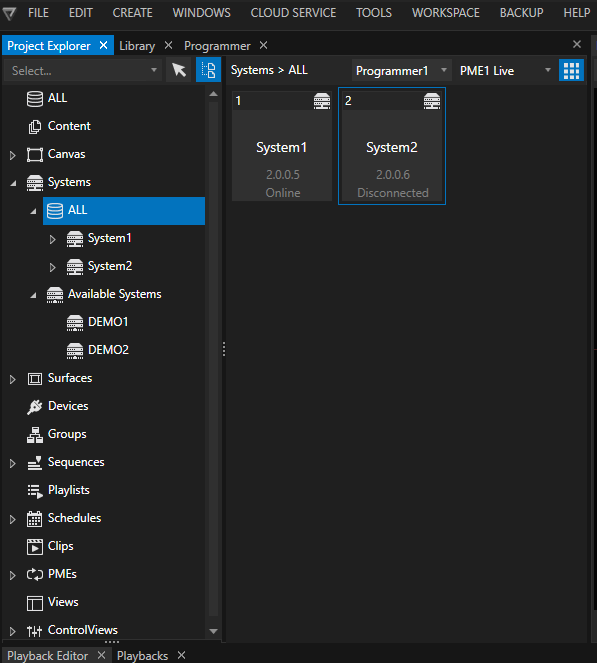
Once the adapter is correctly set and recognized by VERTEX, the IP address will appear in the Top Bar

 Reboot after Adapter or IP change
We recommend to first reboot your Windows System after an Network Adapter was changed into Windows 10.
In some cases the VERTEX Background Service can only detect the changes after the System is rebootet
Add a System as Session Member
Add a System from Master
Go to Systems Section of the Project Explorer. Drag with your mouse a System from the Available Systems Section to "All"
If the prerequisites are all given, the new system appears in the "all" section and connects automatically.
If not, there should be a notification in the Status-Bar
You can also use the context menu.
Just right-click on a System listed under Available Systems and choose "Add as Session member".
Connect with IP Adress if System is under "Available Systems"
If for some reason a System is not listed under Available Systems, you can connect it with its IP Address
Go to File -Tab into Main Menu and choose "Add session Member" A dialog Window opens where you can enter the IP of the System
Join a Project from Session Member
Start Vertex on a Session Member. Click to "Connect to Master" on the Startup Page
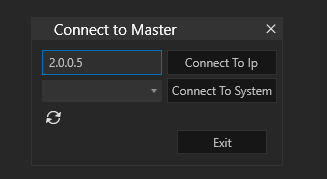
A window opens. Select an available Master from the Dropdown-List and confirm with "Connect to System

If no Master is displayed into the Dropdown, you can connect to the IP.
Just enter the Masters IP Address and confirm with "Connect to IP"
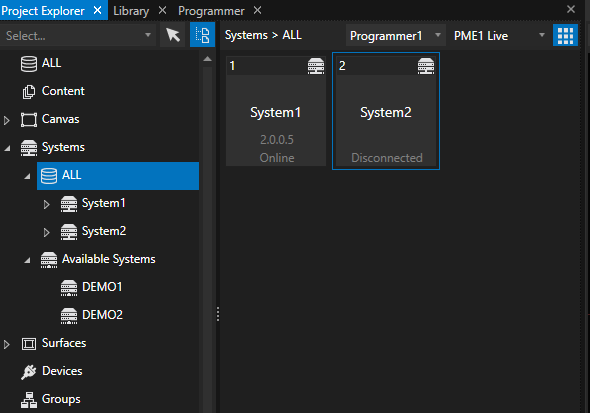
Role and Connection Status
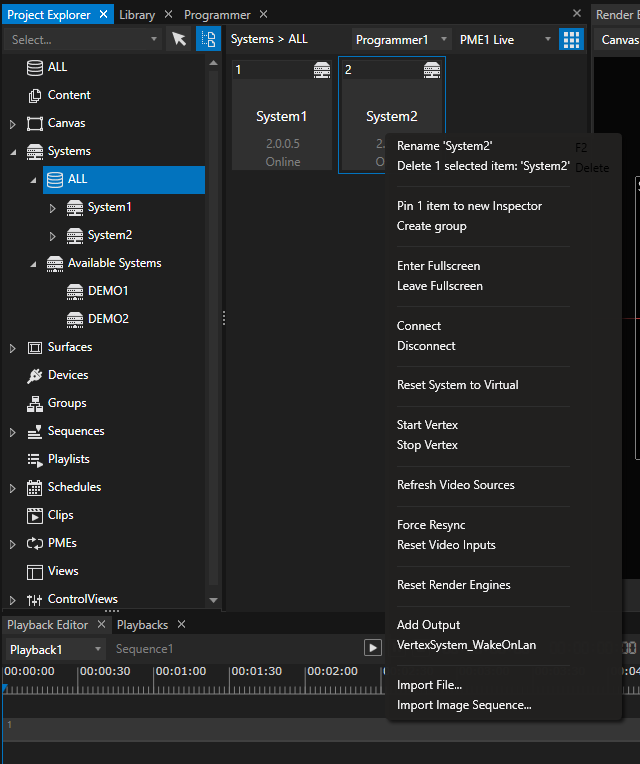
Once a system was successfully added to a Project, its role (Master or Session Member) and the Connection Status (Online or Disconnected) is shown
in the Top-Bar

Connect, Disconnect and Autoconnect
By default for all Session Members "Autoconnect" is enabled.
As soon as a Project is loaded on a Master and the VERTEX is running on a Session Member System, The Session Member connects automatically and loads the Project.
Autoconnect can be disabled for each System in the Inspector Settings
You can connect or disconnect Systems manually.
Right-Click on a System and select "Connect" or "Disconnect" from the Context Menu
Virtual System
Systems in VERTEX also can be virtual. Virtual Systems are not linked to a real System into Network.
You are able to switch a System into your Project back to virtual. Unlink it from a System by using
"Reset System to Virtual"
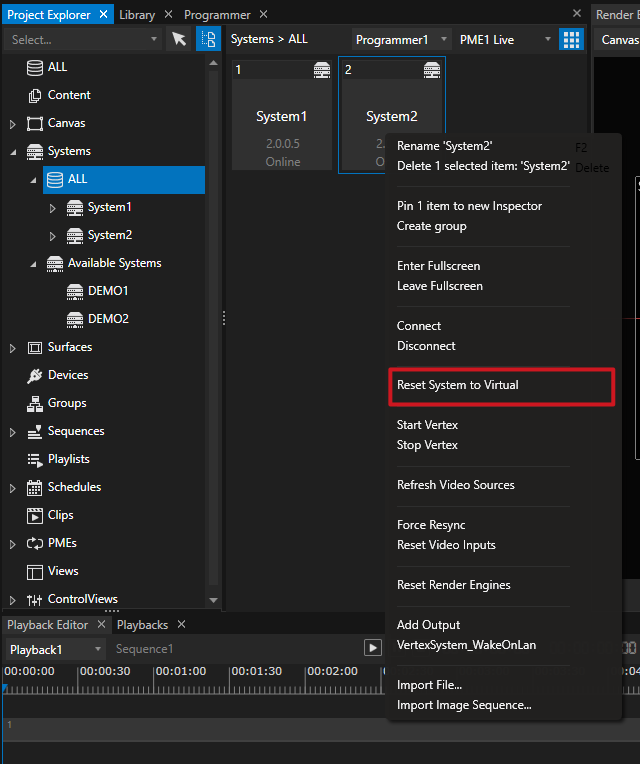
Virtual Systems always have the connection status Disconnected
To link a Virtual System to a real one, just drag a System from the "Available Systems" list to to Virtual System
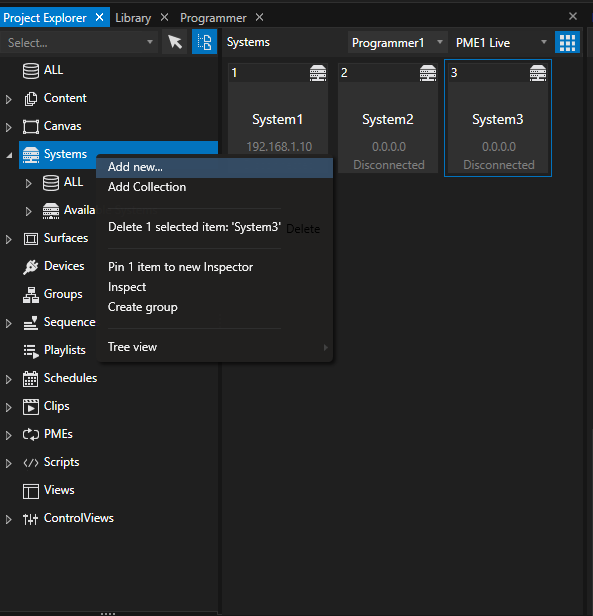
You may also create new Virtual Systems for your Project.
Use them for preprogramming or preview, later convert them into a "real" System.
Open Context Menu on the Systems Section of the Project Explorer and select "Add new..."