•VERTEX offers you a very flexible 3-step model from arranging content to playout
•understanding the the three terms Canvas, Surface and Output respectively their differences is elementary for working with VERTEX
•This chapter explains you this differences and the relationship between those three elements
Relationship
•The canvas is your virtual drawing area where you position your content.
•A surface is arranged on a Canvas and "looks" like a camera into a part of your canvas.
•The result of this surface view is a 2 dimensional render texture, that is assigned to and positioned in an output.
•When set to fullscreen mode, the output plays out the result to the physically connected screen.
Workflow and Advantages
3 Steps From Canvas To Output
1. Arrange your media on a canvas
2. Add surfaces to your canvas and set their position into canvas
3. Assign surface(s) to an output
Advantages
1.Your content and creative workspace is decoupled from your outputs
2.You can arrange all assets in your Canvas Space without knowing the exact number of your physical outputs, the number of your total VERTEX Systems and their Output routing. Each step is independent from each other and can be rearranged at any time.
3. You are able to handle more complex tasks and projects. You are able to switch fast if your output hardware has changed.
Canvas
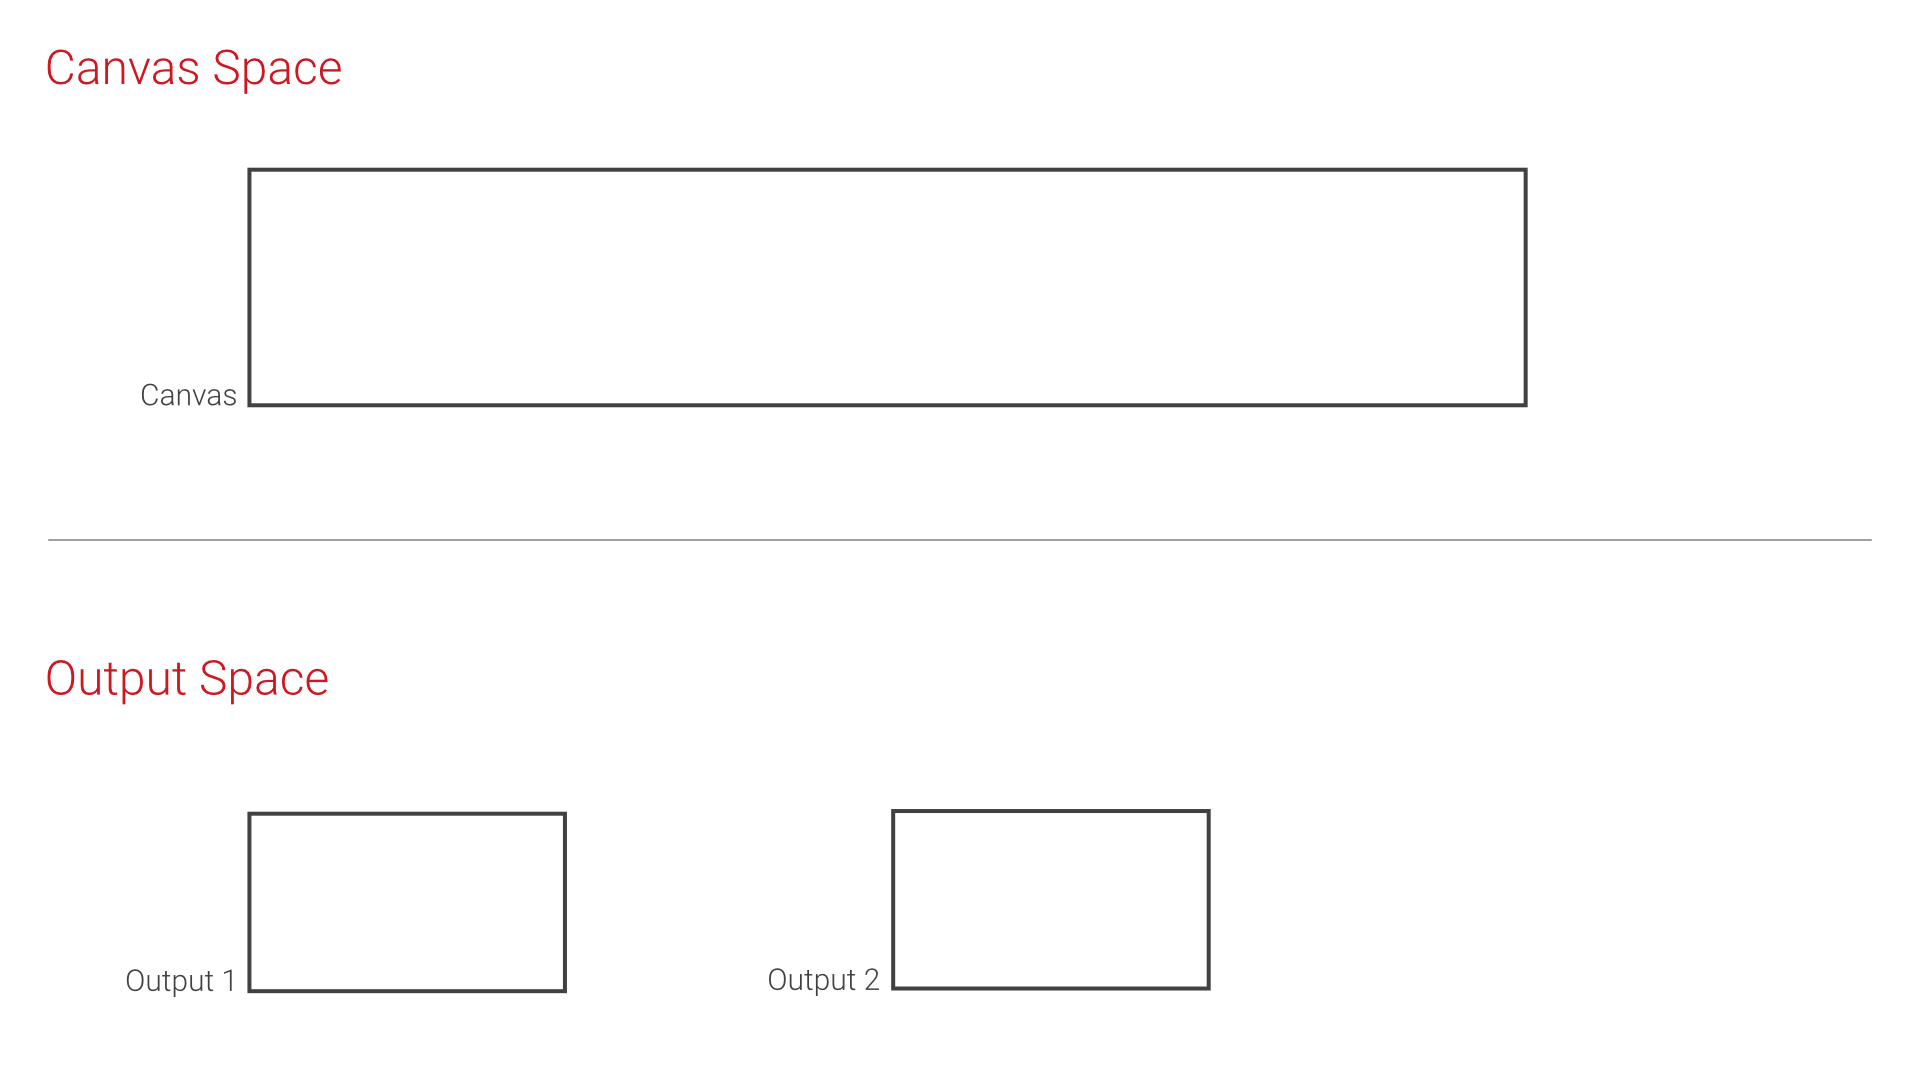
•The Canvas represents the total screen size of your show.
•Arrange your content there, prepare and program your show without thinking of projectors, led walls, display and output numbers.
•VERTEX allows you to create different canvases in a project.
 Default Canvas In A New VERTEX Project
VERTEX starts with only one canvas.
The size of this canvas matches with the pixels of your local Windows desktop.
You are able to change the canvas size into the inspector at any time.
Surface

When having more information about the number of real screens and output signals you will need, you can set up Surfaces that are looking into different parts of your Canvas.
For this step you only need knowledge about the resolution and the total numbers of outputs. You do not need a final knowledge about the number of playout Systems and the physical outputs each of this playout Systems has.
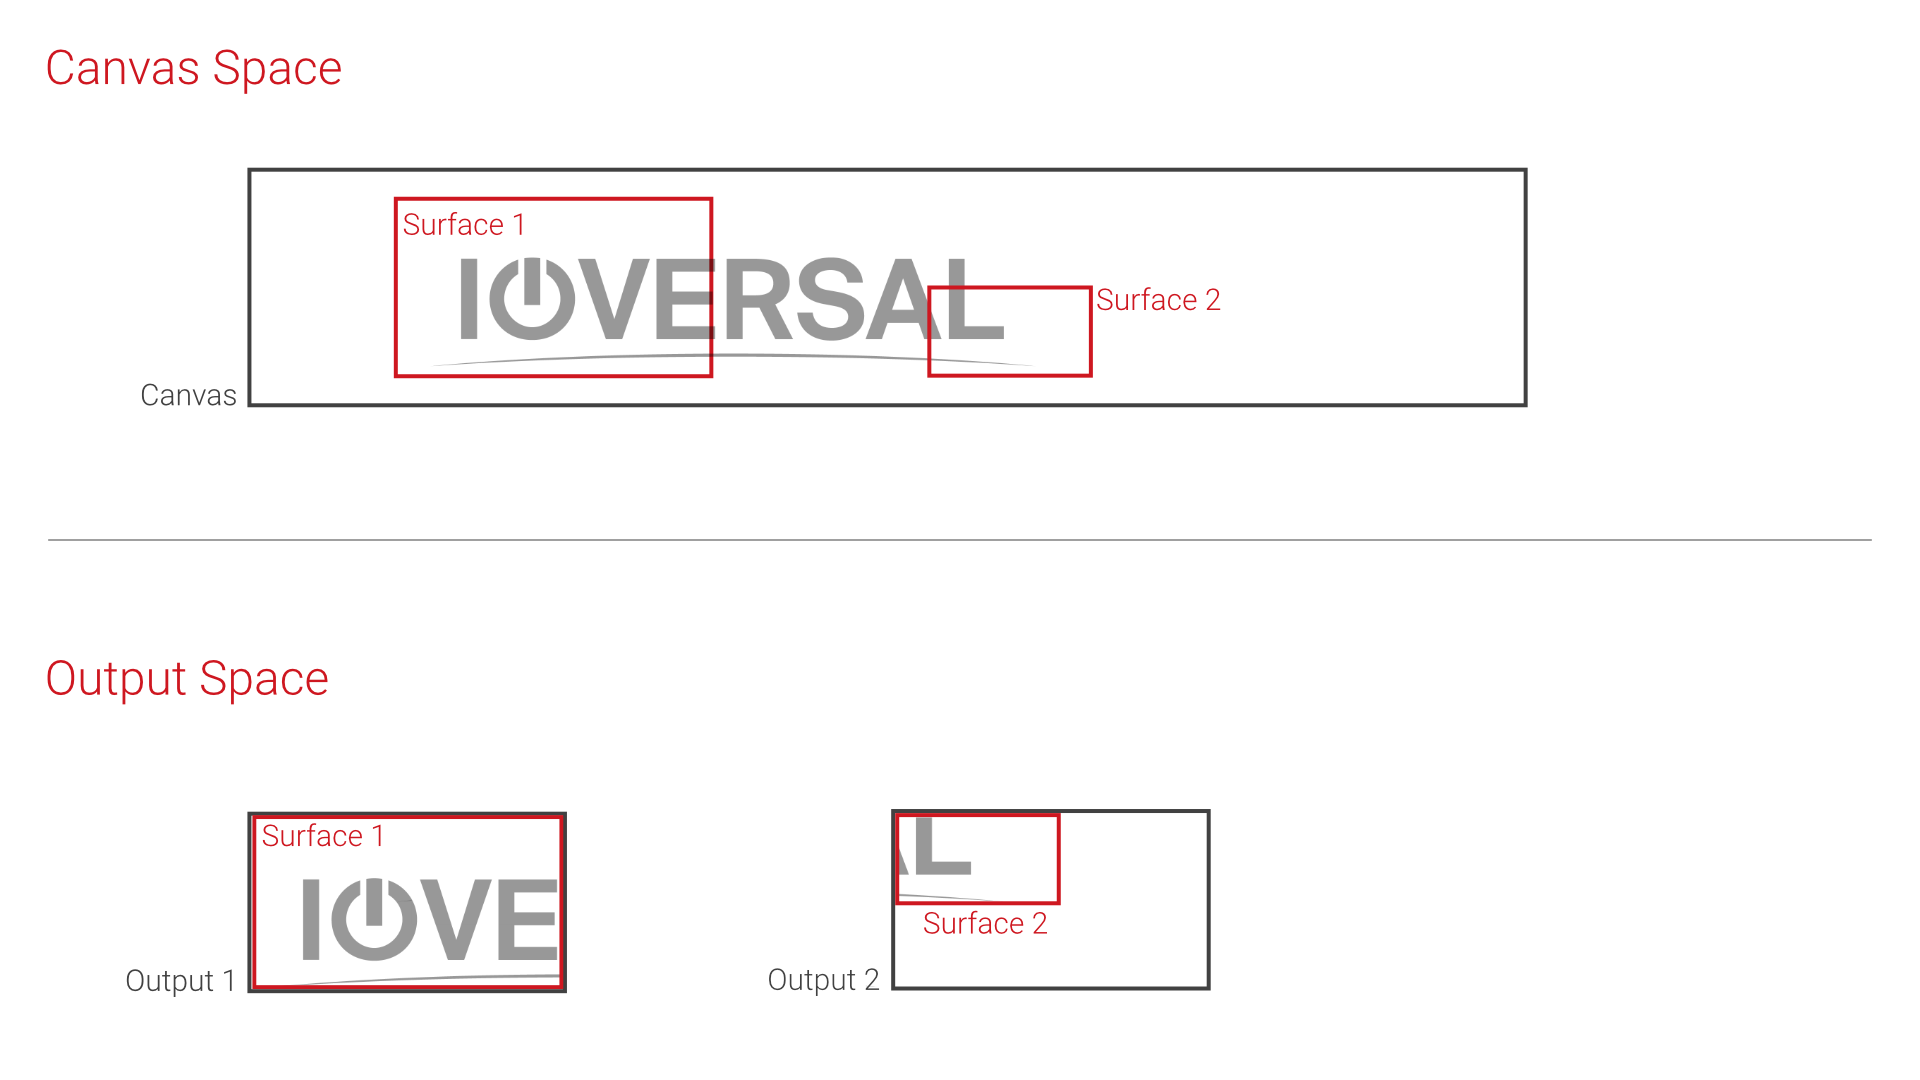
•Surfaces are the bridge between your Canvas Space and the Output Space
•A Surface looks like a camera into a restricted area of your Canvas Space. You can change the Surfaces size, the position and for more advanced users also the viewpoint.
•A Surface can be assigned to an Output of a System.
•One or multiple surfaces can be placed into an Output with help of the Output Transform Position
•Warping and blending could be done on Surface level.
Default Surface Setup For A New VERTEX Project
To make your start with VERTEX as easy as possible, VERTEX creates a surface for each output of your local hardware system. The surfaces sizes matches with the resolution of your outputs and are already added to your default canvas on project start.
Output
•To play out content, a surface has to be assigned to an output.
•You can remove a surfaces output reference and assign the surface to another output.
•You are able to assign only one surface to an output or assign multiple surfaces to an output ( e.g. if using a Nvidia MOSAIC or AMD Eyefinity setup).
•You are able to transform a surface into an output.
Simple Setup
For simple technical setup in most cases you will have only one surface assigned to every output.
The size of the surfaces has to match with the pixel resolution of your output