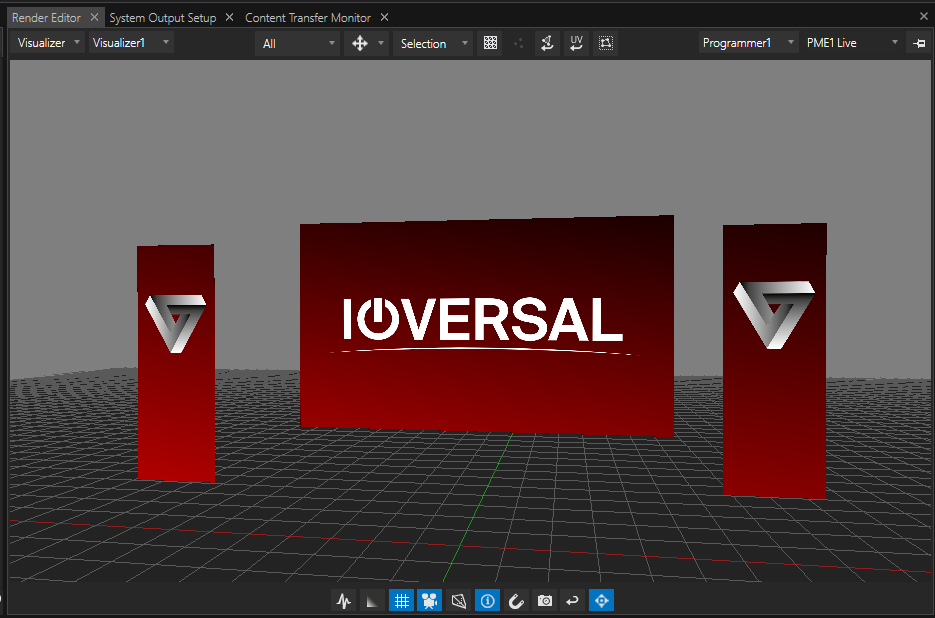
•Visualizer is a feature in VERTEX’s Render Editor creating a visualization of your stage consisting of any number of screens
•create virtual screens with the specifications of your physical hardware on your real stage: dimensions, aspect ratio and location
•any number of Visualizers is possible - thus simulating multiple stages at once
Visualizer Workflow
While creating a visualization of your stage consisting of any number of screens in their dimensions, resolutions, aspect ratios and locations, this workflow also encompasses also one of the many methods in routing content textures to your video outputs. When adding a Screen to your Visualizer, VERTEX will automatically create a Surface and establish a link to a Canvas of your choice. And because you can even add content from here, the Visualizer Workflow is an efficient and powerful way to build your entire show.
1. Add a Visualizer to your project
Go to MAIN MENU > CREATE > Visualizer
2.Start with the creation of a virtual Screen by right-clicking in the Visualizer space and picking Create New Screen... from the context menu.
The Screen represents your physical real-world output. Have your physical screen's size, pixel resolution, aspect ratio handy, as well as its location on stage.
This data will be needed in the consecutive Add New Screen dialogue:
Size |
sets the physical size of your screen, display, LED wall in meters |
|
Resolution |
sets the pixel resolution |
|
XYZ |
the position on stage in meters |
|
Mode |
choose between a 2D or a 3D perspective |
|
Target Canvas |
choose a Canvas that will send textures to the new screen... |
|
Create New Canvas |
... or check this box to create a new Canvas altogether if needed |
|
1:1 Pixel Aspect Ratio |
check this box if the aspect ratio between physical scr size differs from the one of your screen's pixel density. VERTEX will then interpolate a practical size and aspect. |
3.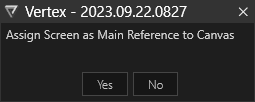 If this is your first Screen on this Canvas, VERTEX will ask you to assign it as Main Reference to Canvas. This will alter your Canvas' dimensions and defines the ratio between physical size and pixels. Any screens created subsequently with the same Target Canvas will be added to the Visualizer according to this ratio.
4.Once a Screen has been created, it will appear in the Project Explorer:
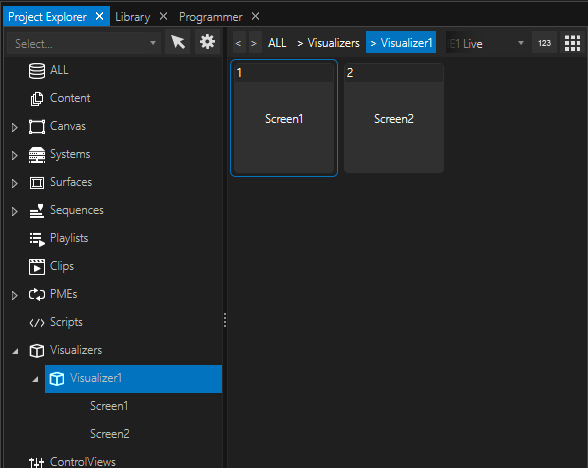
 New Surface Added
VERTEX automatically adds a new Surface for each newly created Screen. Both are assigned to the same Canvas for your convenience.
However, the new Surface is not automatically assigned to an Output.
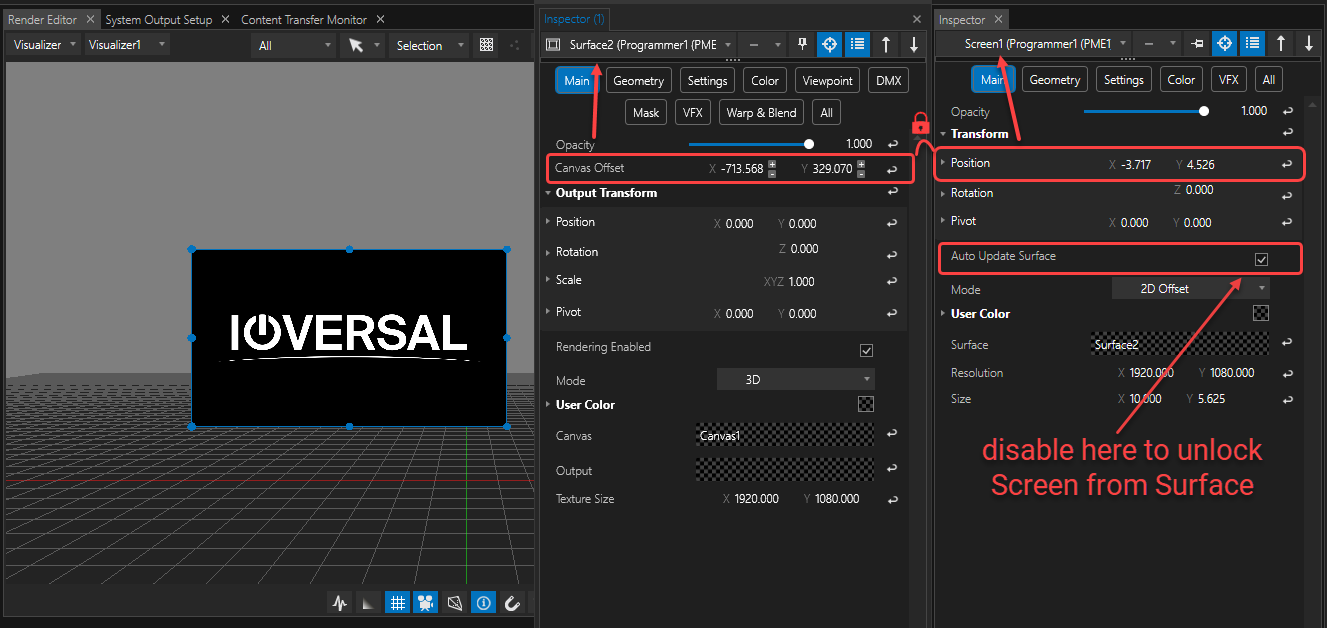
5. If there is already content on your Canvas, the new Screen will display it according to its location in the Visualizer. Click & drag the Screen to position it in the virtual Visualizer space and you will notice how the screen's texture changes as if you were moving a Surface in Canvas View. That is because the Canvas Offset of the Screen's assigned Surface is automatically updated by the Screen's Position property. To unlock the two, inspect the Screen and disable Auto Update Surface in the Inspector's MAIN tab:
6.If the screen is selected, you can access its context menu with a right-click. Here you will find options to Select Screen Surface, a quick Switch To Canvas View as well as Snapping options.
7.Some useful navigation shortcuts:
CTRL+KLICK on the Screen to select its displayed content -- either to inspect the ClipContainer or to re-position it with your mouse.
CTRL+RIGHT-KLICK opens an extended context menu with options to Create Geometry.
8.To create watermark-like textures that are locked to the position of a Screen's Surface, just drag content from the Project Explorer directly onto the Screen in the Visualizer.
This will create a Clip Container with this particular Screen as a Screen Target.
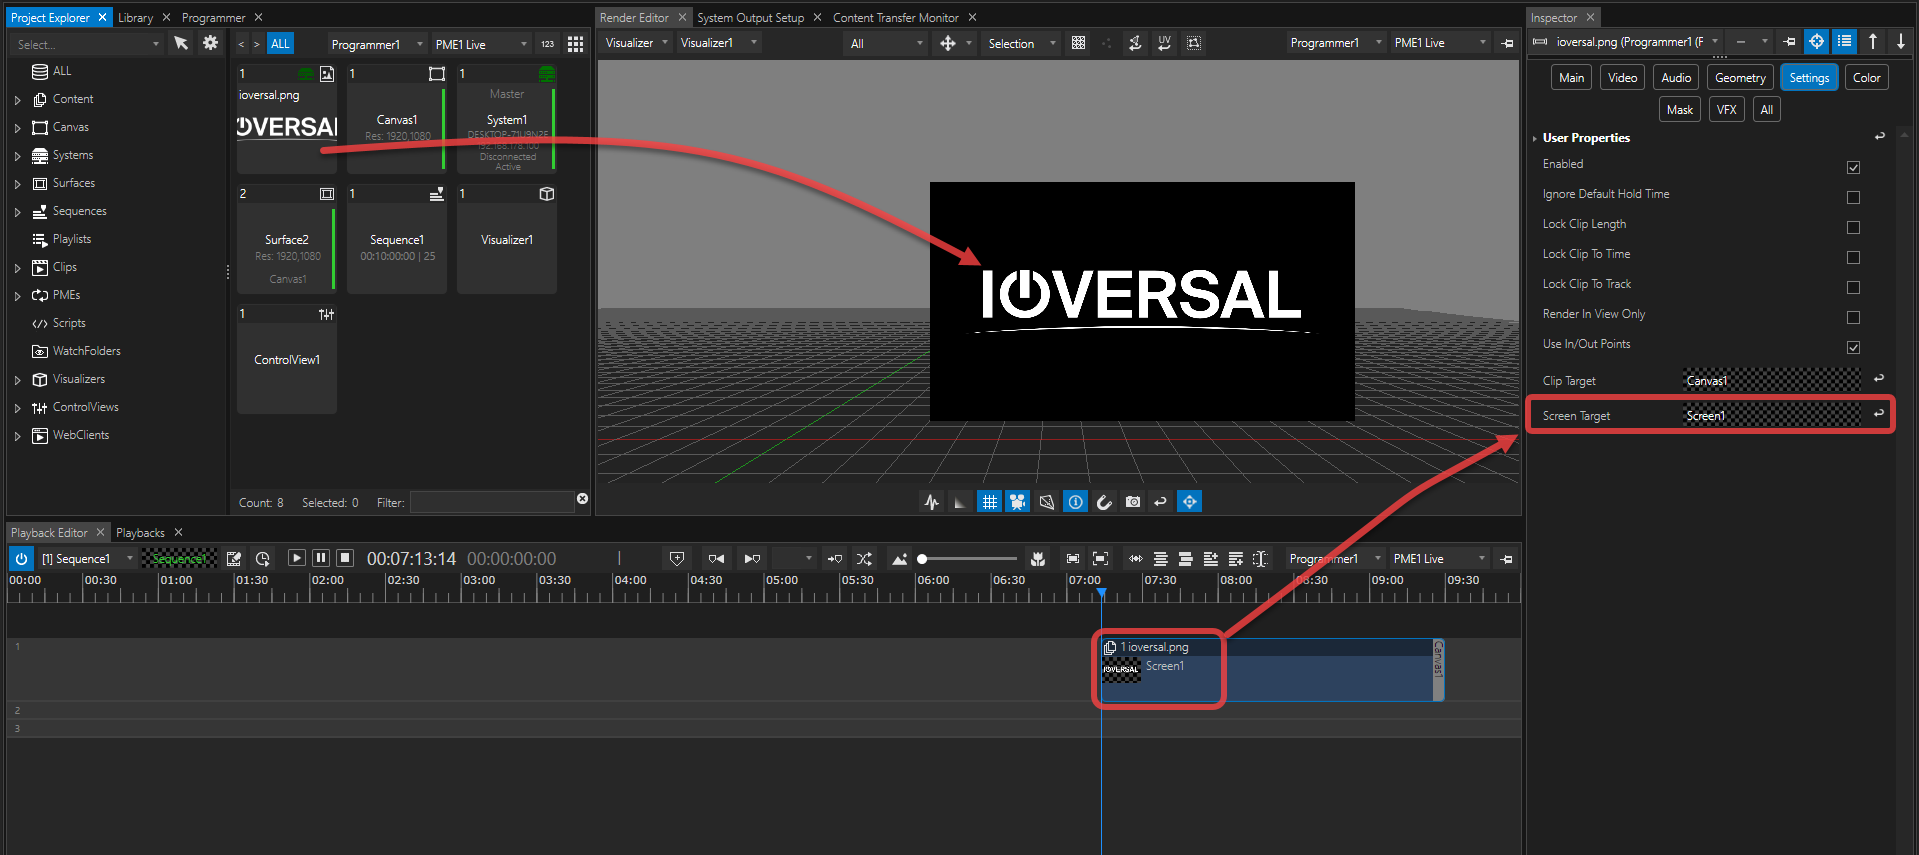
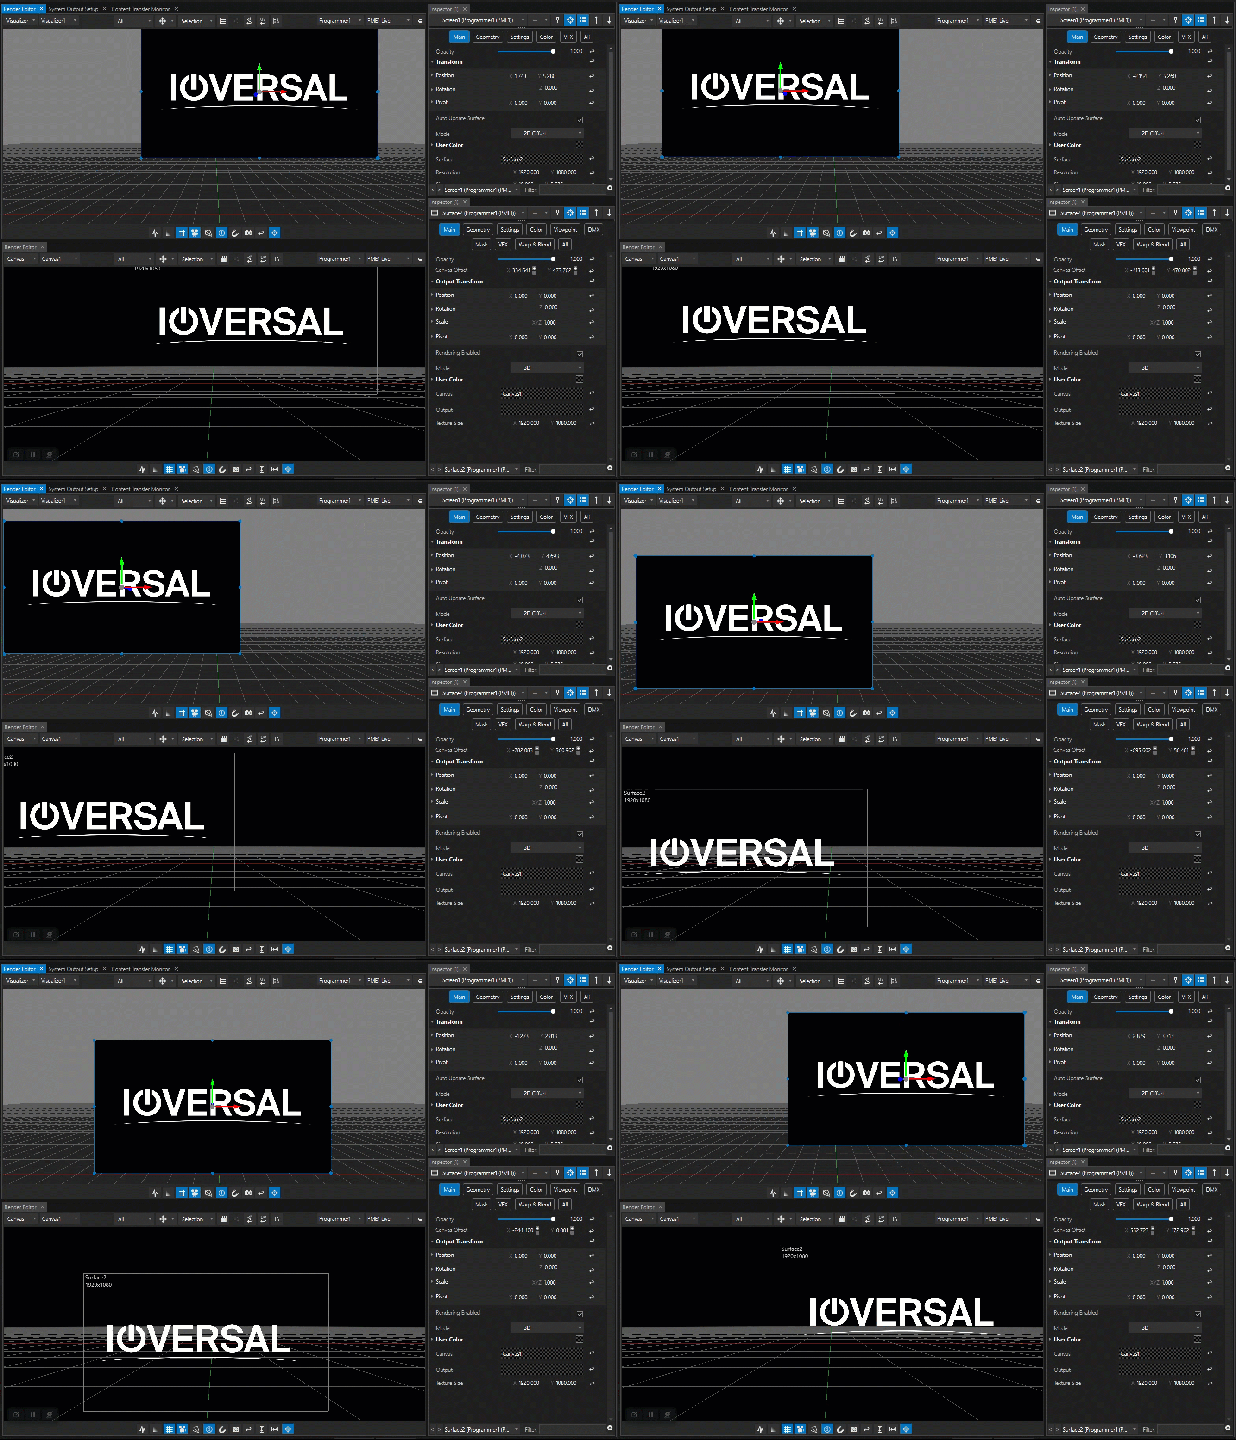
When a ClipContainer has an assigned Screen Target, its position remains locked to the Screen's associated Surface.
