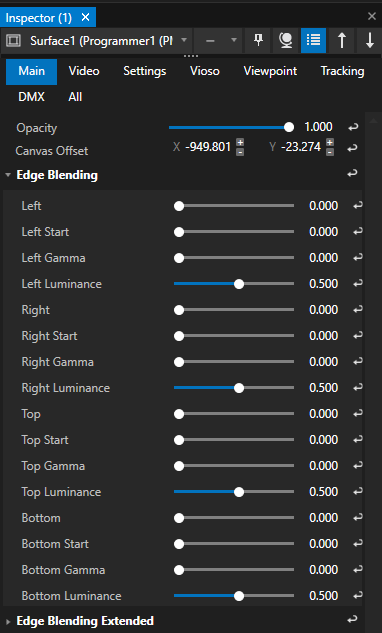
•Every Surface has a set of edge blending parameters to create a softedge blending
•The QuickBlend Wizard creates fast solutions with ease based on VERTEX' blending algorithms
Edge Blending Parameters for a Surface
Every surface offers you a set of parameters for edge blending.
With 4 parameters for each side, VERTEX gives you many options to create a blending.
Use Edge Blending Extended parameters to adjust a blending of a large projection which is only partially overlapped by a smaller projection.
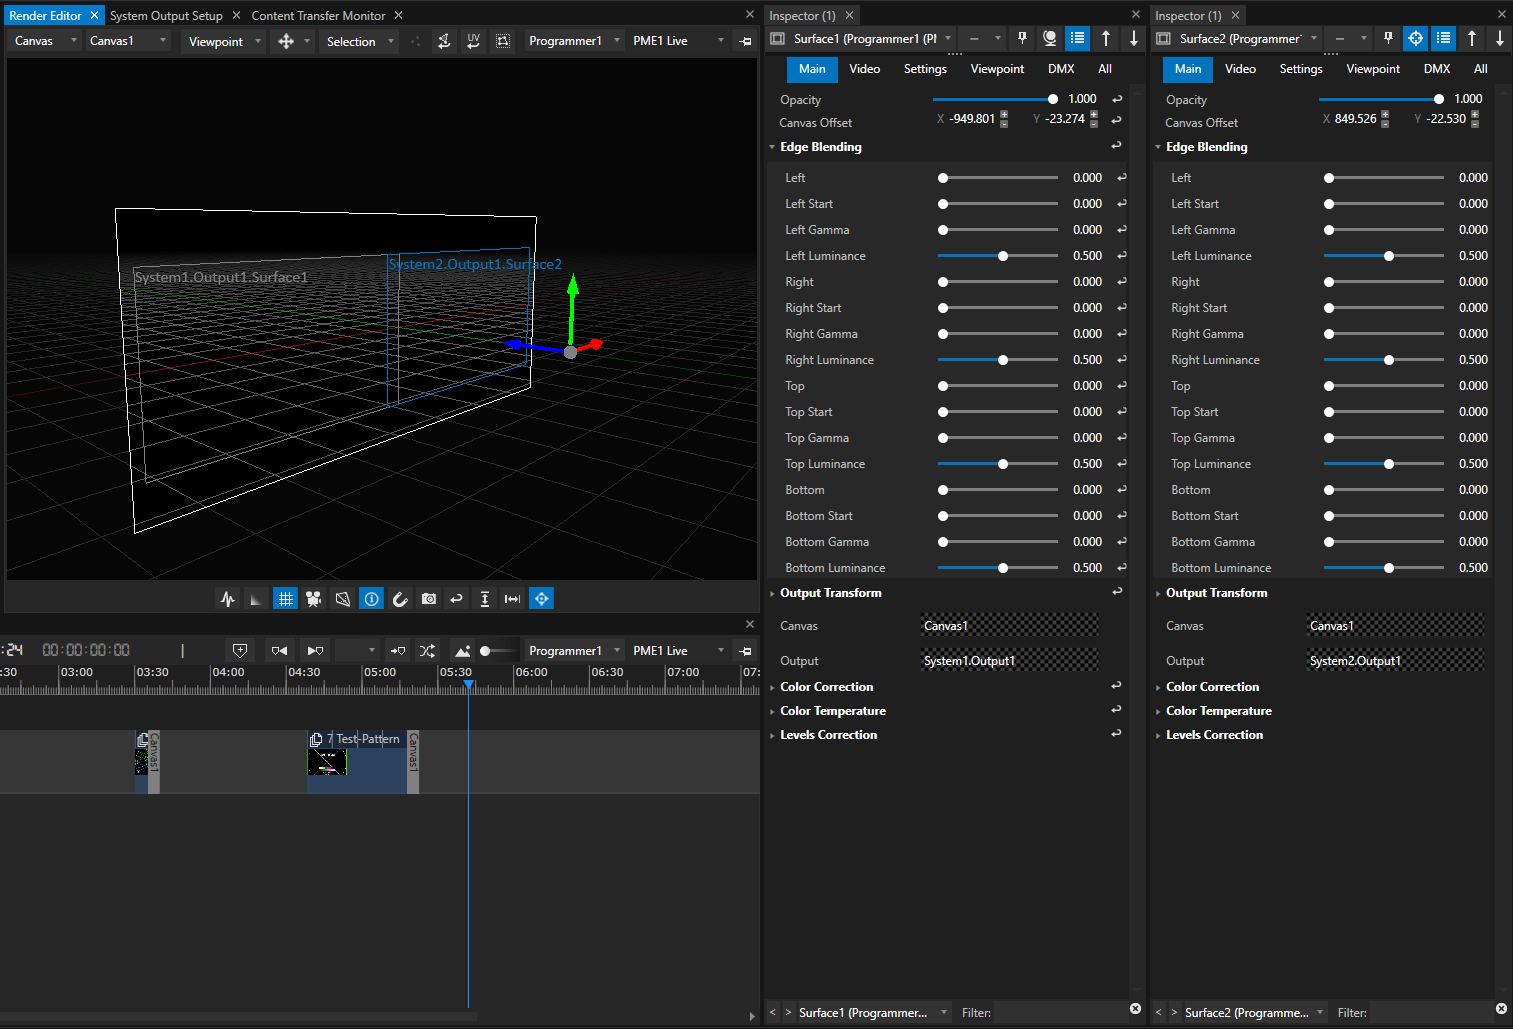
 Work with a second Inspector
For a soft edge with two projectors, open a second inspector. Dock the window next to the first inspector.
Select the first surface in first inspector and use the "Pin" button to fix the first surface to the inspector.
Select the second surface in the second inspector. Open Edge Blending Parameters for both.
QuickBlend
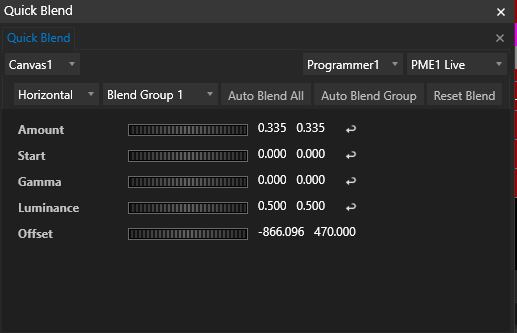
•The Quick Blend wizard helps you to create edge blending for groups of two surfaces or more
•If the surfaces overlap is set, the wizard calculates the blending automatically and sets the corresponding edge blending parameters for all surfaces
•Afterwards you only have to bring your Blending to perfection and do fine adjustment
1.Go to main menu, select "Window" and open a new Quick Blend editor
2.Select your canvas in the Quick Blend editor
3.Select if you want to combine a horizontal or a vertical blend group
If there are multiple surfaces on your canvas, QuickBlend creates groups for every two neighboring surfaces.
4.Adjust the canvas offset for surfaces to finally define the overlap.
By default the overlap that was set before for each surface is taken into account.
As a result of the fine adjustment the overlap should correspond to the overlap of the projectors.
Use the slider to influence the canvas offset of all surfaces of your group.
Use first value field to set the offset of the first surface of your group.
Use second value field to set the offset of the second surface of your group.
5.Select "Auto Blend Group" to blend a group
Repeat the steps for all available horizontal groups
6.Select "Auto Blend All" to blend all available surfaces
7.Do fine adjustments for blending with the help of Quick Blend parameters
Fine tune your blending with parameters for amount, start, gamma and luminance
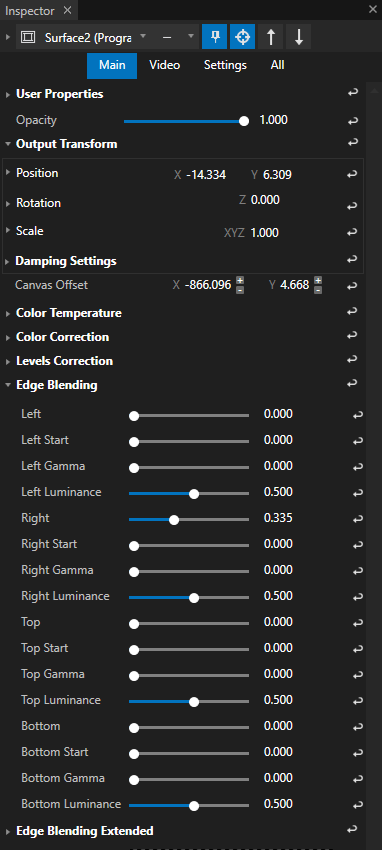
Result: for every selected surface the edge-blending parameters are set by Quick Blend


