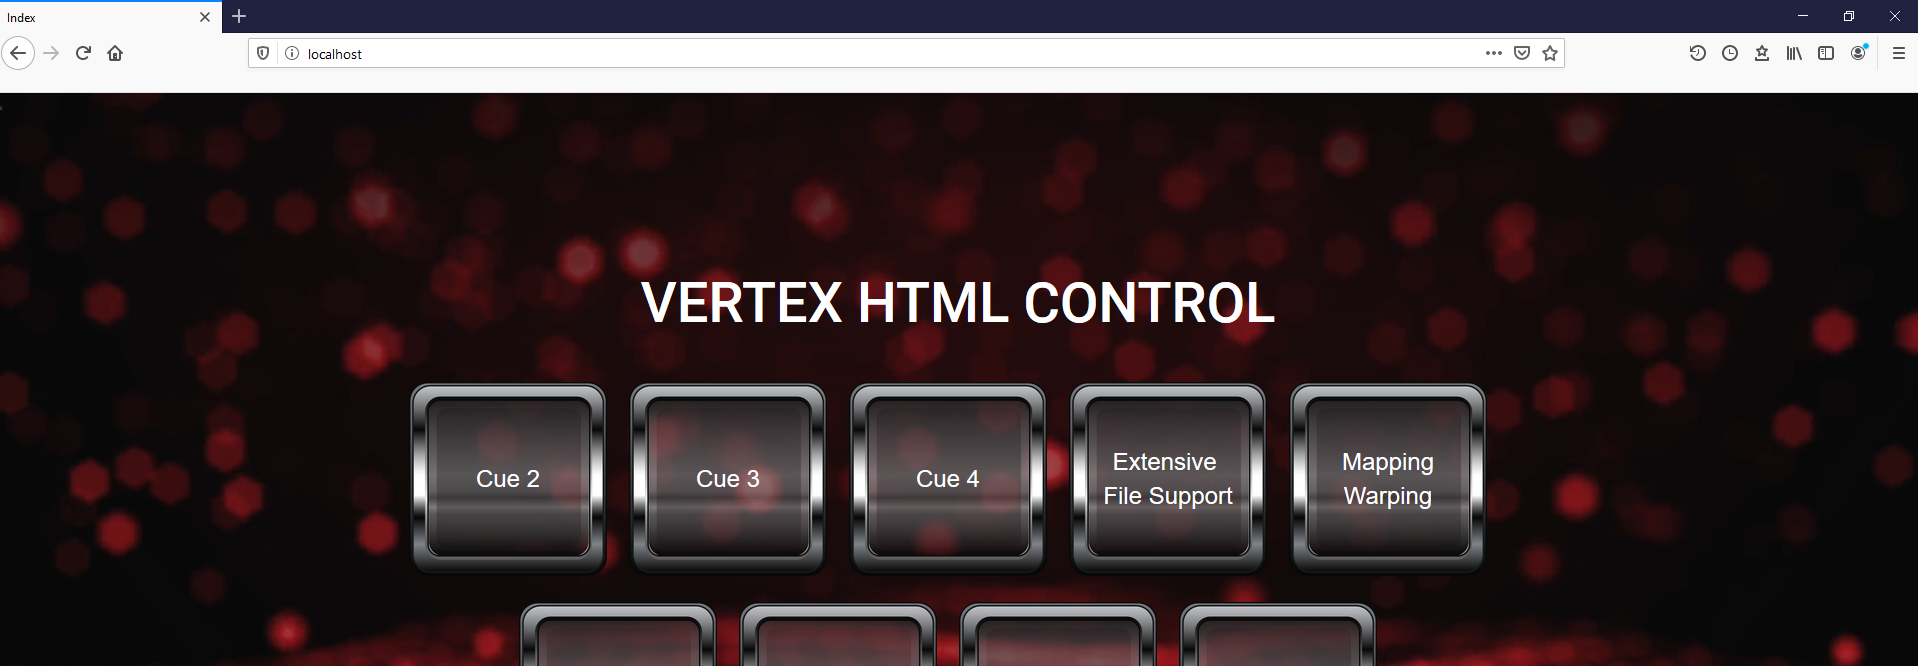
•VERTEX comes up with an integrated local HTML5 webserver that can host a HTML page.
•Integrate HTML5 based control panels and trigger VERTEX with script commands with ease.
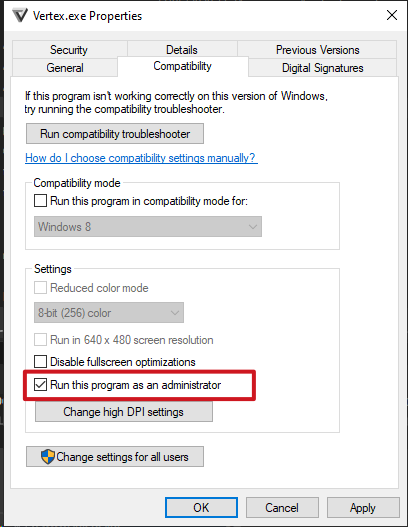
•To use the webserver VERTEX has to be started as Windows administrator.
Host Websites with Controls
VERTEX comes with a built in webserver that can host HTML5 Content with Javascript and CSS.
With this toolkit on board, you are able to write HTML5 based control panels that can send script commands via a HTML5 form and the post-method.
With the built in webserver you are able to control e.g. a VERTEX project with an tablet computer in the same network.
•HTML-Form
•Method: Post
•Action: Empty
•Element Name = "Script"
•Value ="[ScriptCommand]" eg Value="Playback1.Play"
Simplified Example
<!DOCTYPE html>
<html>
<head>
<meta charset="utf-8">
</head>
<body>
<form action="/" method="post" target="">
<button name="Script" value="Playback1.Play">Play</button>
</form>
</body>
</html>
Workflow
1. Start VERTEX as Admin
The integrated webserver is the only functionality that requires that VERTEX as application is started with administrator rights.
To permanently start as admin, set the check mark for the Vertex.exe as in the picture below.
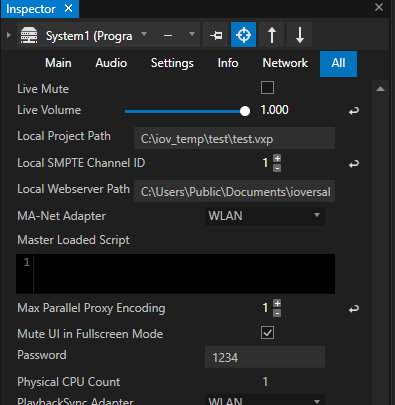
2. Set Local Webserver Path for HTML Content
Set the local webserver path in your project and copy your HTML files into this path
or use the standard path VERTEX sets for every project: C:\Users\Public\Documents\ioversal\Vertex\WebServerData
The webserver path can be changed for a system in the inspector.
Select "All" tab there and scroll to "Local Webserver Path".
3. Copy HTML Files into this Path
Copy your HTML files into this path.
4. Test with Local Browser
Enter "Localhost" into the address bar of your local webbrowser.
The HTML content should be loaded.
 Firewall-Settings
If you plan to access the HTML website from another device in the same network, please set a firewall rule for TCP on port 80.
Inbound data receiving has to be allowed on this port.


